So you have just finished your splendid new node.js express app, it runs smoothly in your local environment and you are ready to make it available to the users who are eagerly awaiting for the release. The question now is... where to deploy it? Search no more! Google Cloud Platform is the place you've been looking for. Seamlessly deploy your app with a single command and let Google handle the scaling your app needs according to the users traffic.
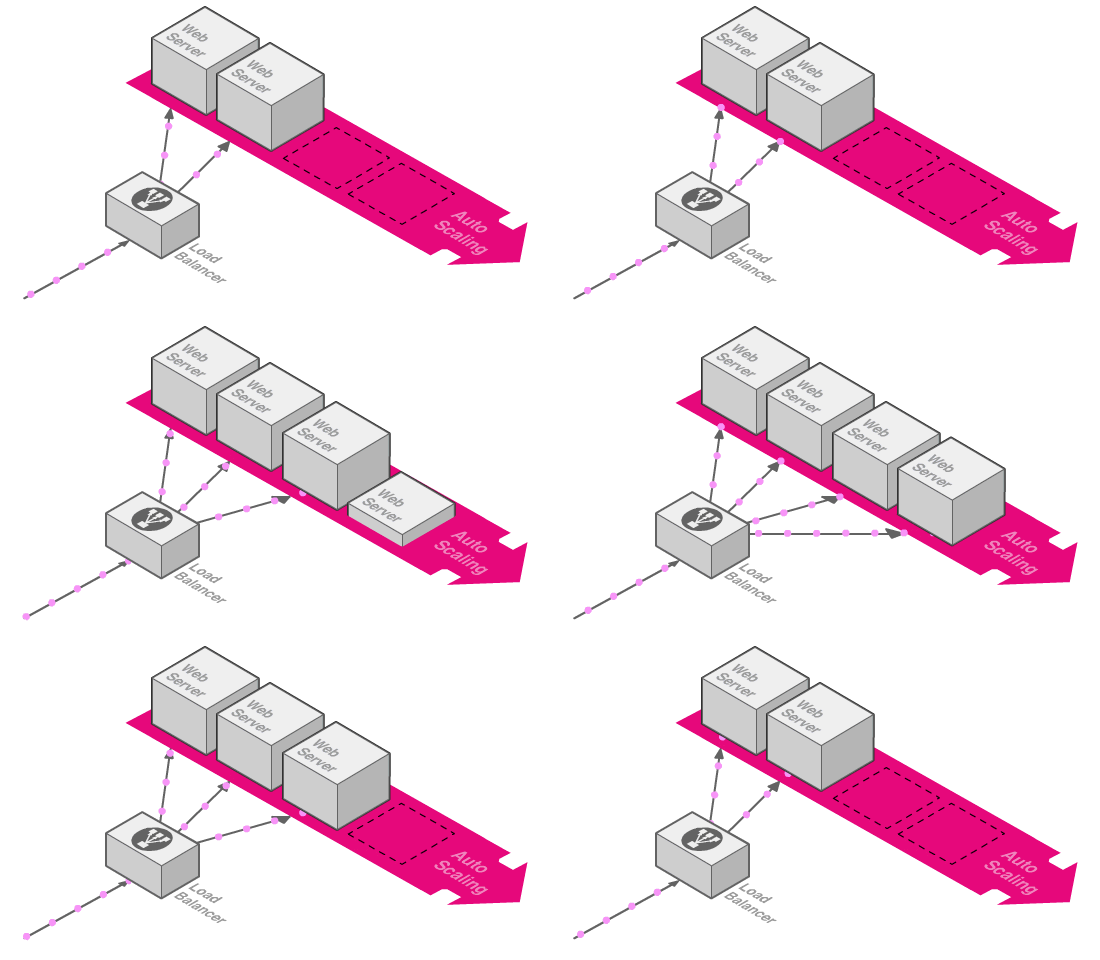
The conventional way
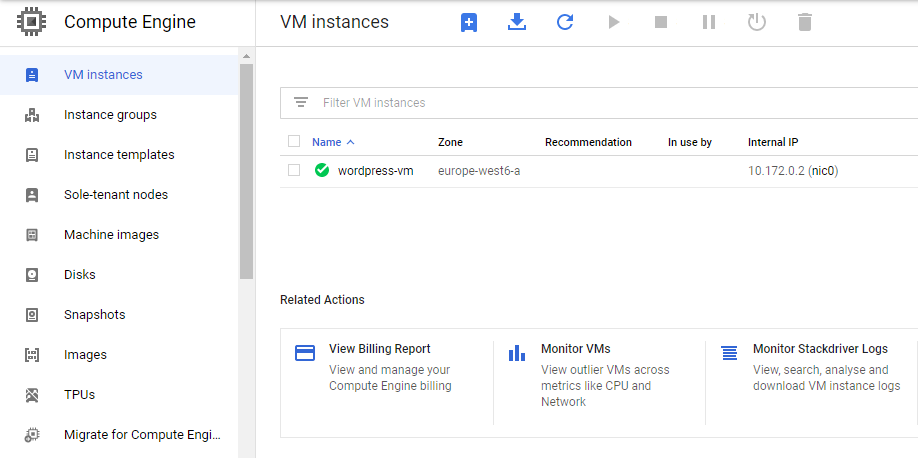
Before the appearance of cloud infrastructure providers (e.g. Google Cloud, Amazon Web Services, Microsoft Azure, etc.), the usual deployment process consisted in having a dedicated server or virtual machine in which the application was installed along with all the necessary requirements. Still this can be done today by creating a virtual machine in your cloud provider but it has some drawbacks:
- Scaling: Any virtual machine has a computation limit. When enough users start accessing the application at the same time, the virtual machine will not be able to handle all their requests and some users will get timeout errors. Also, even when there are no users accessing the app, the virtual machine is still running and so increasing the monthly bill total.
- Machine management: Having a dedicated virtual machine gives the highest degree of freedom. And with great freedom comes great responsibility (remember SpiderMan?). You will need to install the runtime, configure the environment, expose the necessary network ports, manage the application from within the virtual machine (start, stop, update, deploy, access the logs, etc.) and so on.
The cloud way
Instead of managing dedicated virtual machines the current trend is to delegate the low-level layers (e.g. hardware, network, operating system, runtime, etc.) to a cloud provider and deploying the application on top of that. This approach is called PaaS (platform as a service) and it has many flavours and providers. In GCP there are three main categories: Google App Engine, Google Cloud Functions and Google Cloud Run.
All the categories pursue the same goal but they achieve it in different manners. Cloud Run is meant to run applications containerized through Docker. Cloud Functions is designed to run single functions, for a mobile app backend for example. App Engine is the best choice for web applications, adding additional capabilities that Cloud Functions do not include (e.g. easier database connections). You can read more about it in GCP documentation.
Simple yet realistic app
You can host any kind of application in GCP (Google Cloud Platform) so before jumping into it let's have a look at the nature of the web app that will be deployed. For this example I developed a web Api connected to a mySQL database. I used NestJS, one of the most popular node.js frameworks, which supports Typescript (is built with it), has a good community adoption (other developers will have an easier time joining the project) and simplifies certain parts of the development process.
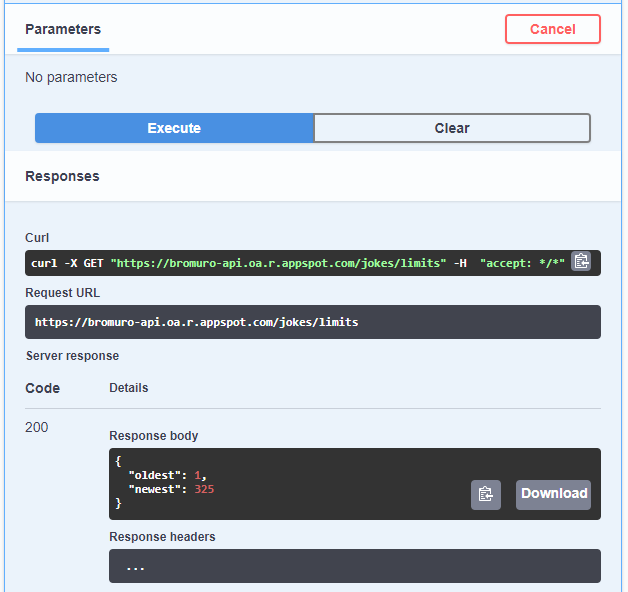
The Api itself is simple. It exposes a collection of jokes (spanish content), allowing to fetch them by id or through text match. It has the following three endpoints only, which you can test at https://bromuro-api.oa.r.appspot.com/ if the gcp app is still running (in case the gcp app is shutdown, you can clone this repository, run the project using docker-compose and access it at localhost:3000).

This interactive documentation is using swagger, an OpenAPI Specification standard, through a NestJS module which automatically generates the interactive page based on code annotations. The coolest part of swagger is that you can make actual calls to the endpoints, providing the parameters and getting a real response:
Google App Engine
Given the nature of the application App Engine is the right choice, but before delving into the deployment steps there are a couple of considerations we must address.
Stateful apps
In first place, there is a type of express libraries that don't play well with autoscaling environments, being the most used express-session. The issue with this library is it stores user information (the request session) in the server memory. While this works out when there is a single server, it falls apart when there are multiple virtual machines running the application because a user request might be served by a different machine that served the previous request.
For example, this happens when a user authentication request is served by VM1 and a following request to a restricted URL is served by VM2. VM2 did not authenticate the user, hence it will return an error. An application that keeps data in memory (state) between requests is called stateful, and it will struggle to live in any autoscaling environment. The solution for this problem is to persist the state outside the server, using solutions like Redis, making the app stateless.
Another alternative to persist the state outside the server is to delegate the state management to the client when possible. For example, in the first version of this web api there was a fourth endpoint called "random", which returned a random joke and stored the joke id to the session so it would not return a joke twice to the same user. Instead of going for a Redis-like solution, I decided to remove the endpoint and generate the random ids in the client, keeping track of the already consumed jokes.
Database connection
Since we don't know which and how many virtual machines will be running the app, the database can't be placed inside any of them. We will need a separate permanent virtual machine to contain the database. In GCP there is a special type of virtual machines called SQL instances, which allow you to deploy a database with a couple of clicks, choosing from MySQL, PostgreSQL or SQL Server database engines.
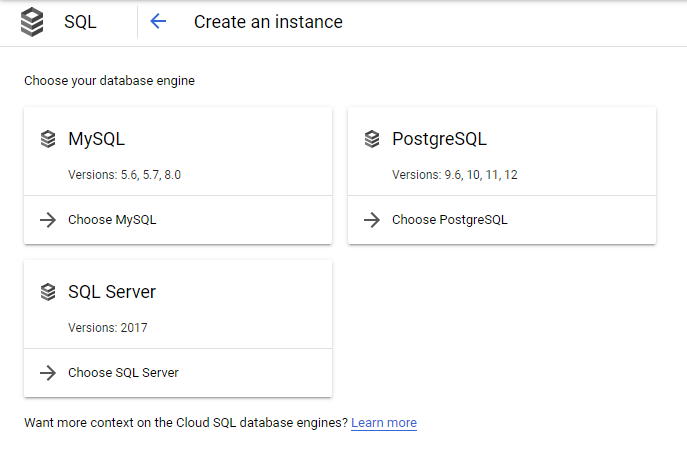
This database instances are specially suited to be used from within GCP, making it specially easy to connect to from App Engine (using a mechanism called socket files). mysql npm package supports socket files connections through a configuration parameter called socketPath, so it's just a matter of setting the right environment variables and handling both TCP connections (for development environment) and socket file connections (for production environment). This is how I implemented the database connection (using Typeorm instead of mysql) and you can learn more about it in the official nodejs examples repository.
For noSQL databases such as MongoDB you still will have to create a virtual machine and install the database engine or use a third-party solution such as MongoDB Atlas. In fact a MongoDB database makes much more sense for this application (simple domain with no references), but for the sake of environment simplicity I decided to use MySQL.
Deployment
Without further ado, let's upload our app to Google Cloud 🚀 All you need to do in your repository is adding a app.yaml file with the cloud configuration for you app. The only mandatory field in this file is the runtime, which you will set to the node version you are using (e.g. nodejs12). You can set the type of virtual machines you want to use through the instance_class parameter and you can also define environment variables through env_variables.
When it comes to sensitive environment variables (e.g. api keys, database users and passwords, etc.), still there is not much agreement on which is the most convenient way to do it. In my case, I went for the simplest option: defining the environment variables in a file excluded from the repository (env_variables.yaml), and then use the include parameter in app.yaml to load those variables. In this cases, I like to add a template file to the repository indicating which environment variables the application is expecting:
And we are good to go 🍾 In order to deploy the app you will need the Google Cloud SDK, which allows to execute commands in the cloud environment from your own terminal. The first time you will need to login, create a project and create an app (you can also create the project and the app in the GCP website). Once you have done this you just need to run the deploy command to automatically deploy your app while you go getting some coffee.
> gcloud auth login
> gcloud projects create [YOUR_PROJECT_ID] --set-as-default
> gcloud app create --project=[YOUR_PROJECT_ID]
> gcloud app deploy
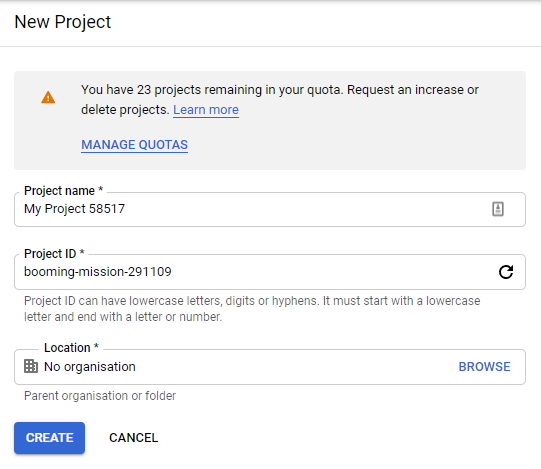
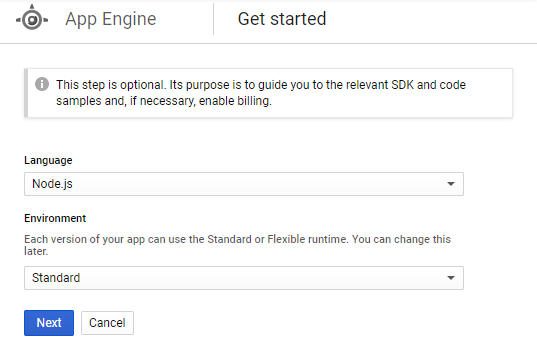
When the deploy command finishes your app will be live on GCP 🤩 You can use gcloud app browse to launch your app in the browser. It's likely that the first time you deploy something will not work as expected. If you get an error add some logs to your application (the good old console.log will do), deploy again and you will find the logs in the GCP Log Viewer.
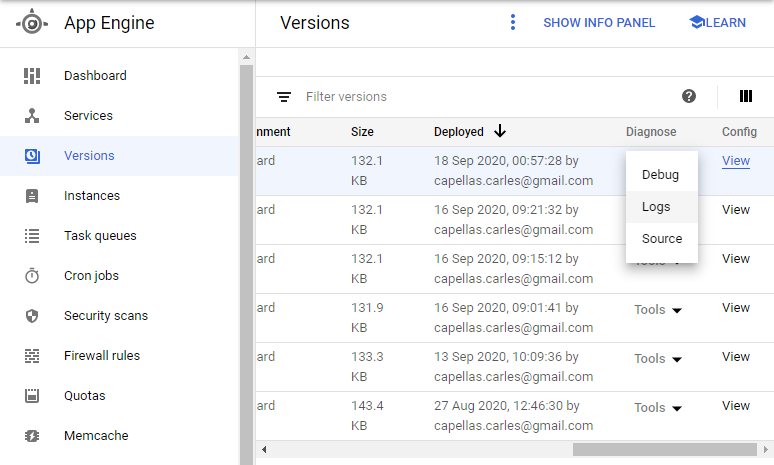
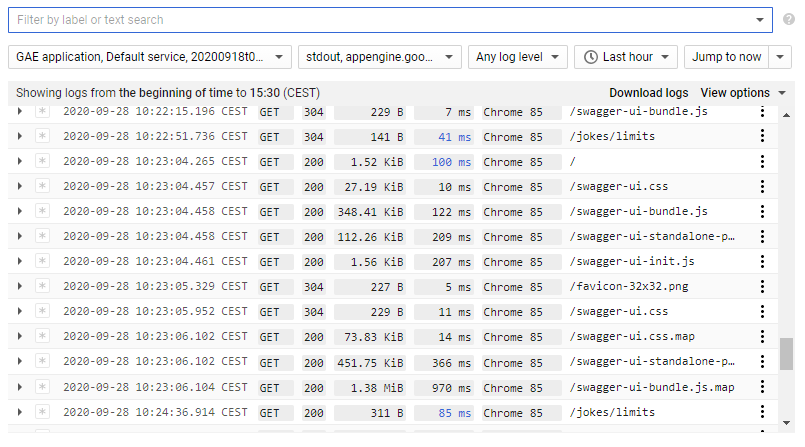
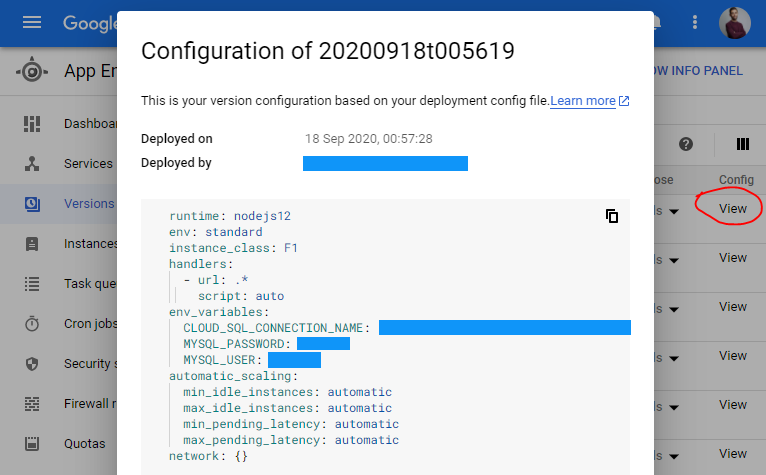
For each deployment you make, a new version of the app is created in GCP. Each version has independent logs, a unique URL and independent environment variables. You can check a version environment variables by accessing the version's configuration:
And that's it! Fix the problems that might appear in the way (e.g. wrong sql instance connection name) and you are good to go 🎉 One last tip if you are using windows: you will have an easier time with gcloud sdk if you use it from cmd or powershell instead of git bash.