So you just had that amazing idea for a killer mobile app. You know how to develop it and you have the motivation but you are not sure how hard it's gonna be to get it published on Play Store. Or maybe you don't have the idea yet, but still you wonder about how publishing a mobile app works. You came to the right article. This is what it looks like to upload an Android app to Play Store in January 2021.
Both App Store and Play Store require you to purchase a developer license. While Play Store's license is cheap ($25) and lasts forever, Apple's one is more expensive ($100), must be renewed every year and the upload process is more complicated. I recommend starting with Play Store, testing the app with some users in the production environment and once everything is ready, move into App Store.
Google Play Console
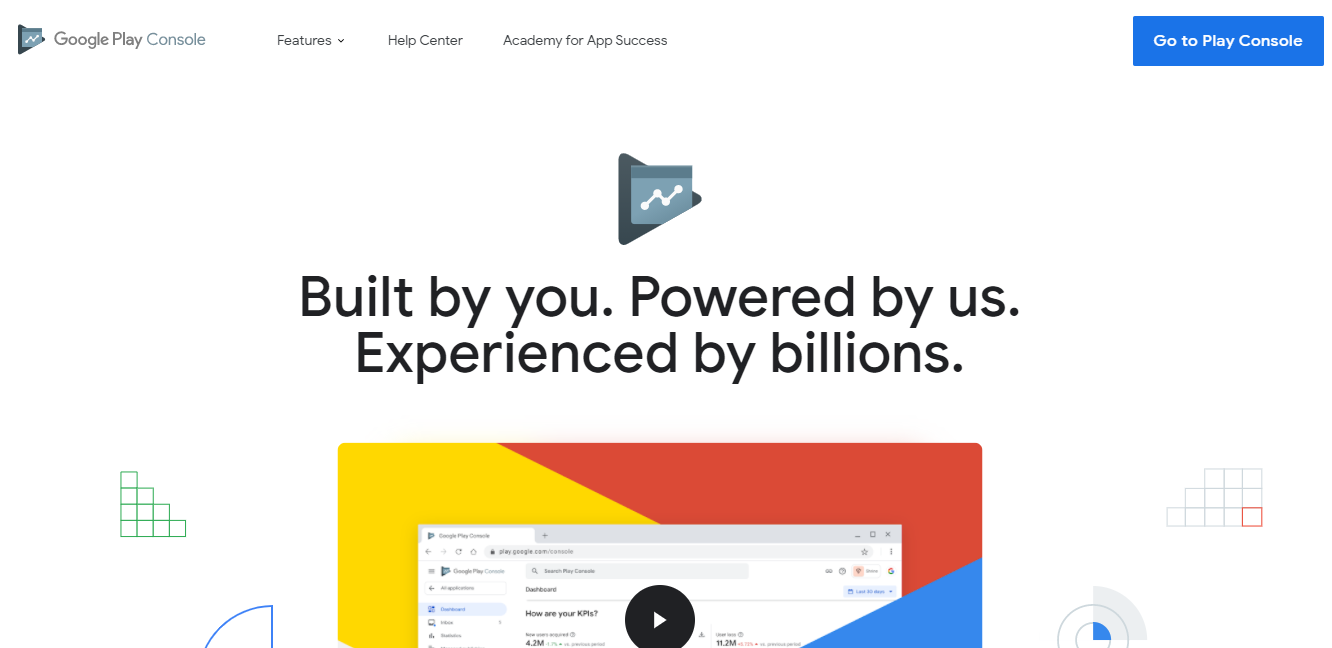
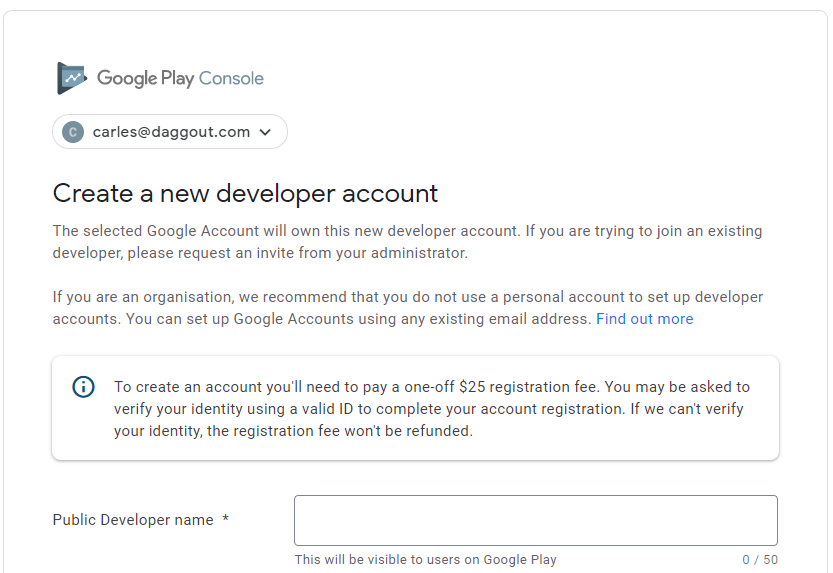
First things first. Once your app is ready to be uploaded you will need to create a Google Play Console developer account. To do so head to Google Play Console, click Go to Play Console, sign in with your Google account, fill the form (the developer name doesn't need to be your legal name, you can use whatever you like), pay the $25 registration fee and you are good to start.
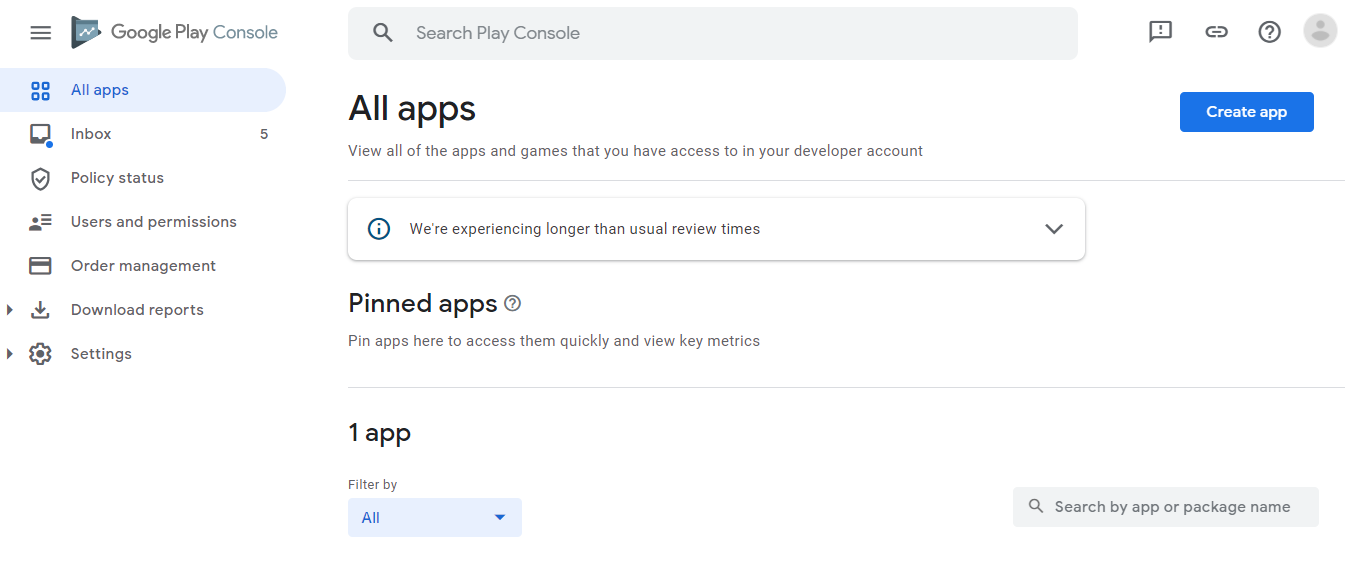
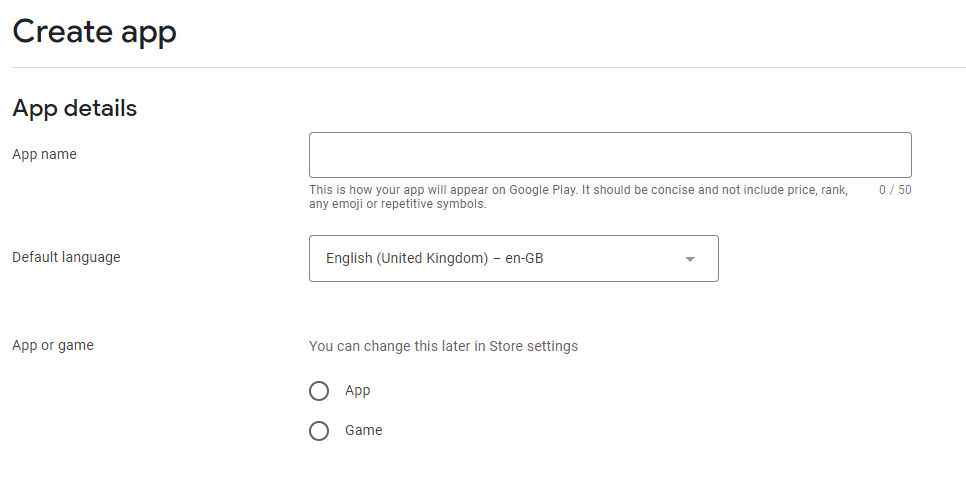
Once your account is created you will land into the Play Console dashboard. To upload your app you will first need to create one. Click on Create app and fill the app details: name, language and type (if you select free app, you won't be able to change it after you've published the app).
App content
After the app is created you will be directed to the app dashboard. There you will find a straightforward guide with the steps you need to take in order to setup the app. First, Google needs some information about your app content. This is:
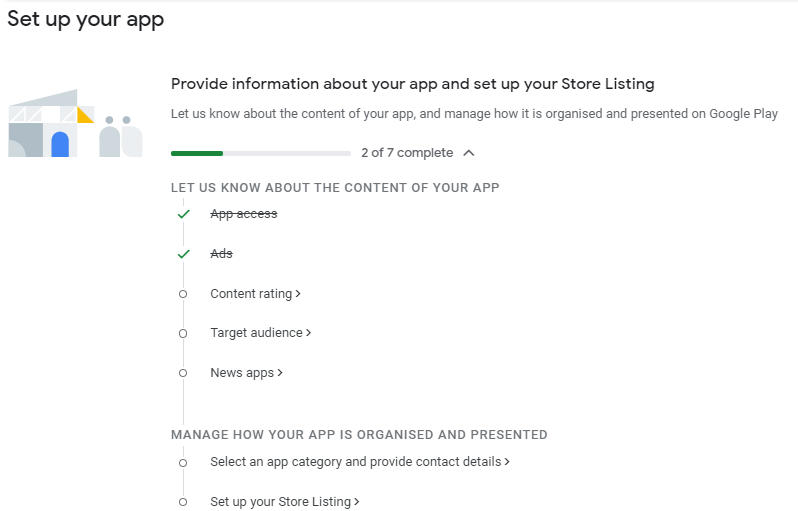
- App access: If your app requires users to authenticate (e.g. creating an account or using an identity provider such as Facebook), you will need to provide demo credentials. Create a testing account in your app and add the username and password in the App access section.
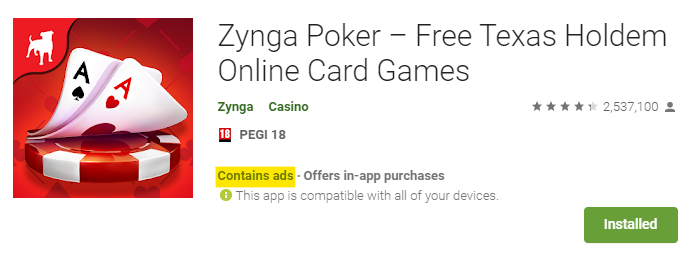
- Ads: Whether your app contains ads or not. This setting is purely informative and won't change or restrict any aspect of your app. It will only display the Contains ads label on the app Play Store page. E.g:
- Content rating:Questionnaire to receive official content ratings (e.g. PEGI, IARC, USK, etc.) for your app. Contains questions such as "Does the app contain sexual material or nudity?" and "Does the app contain any potentially offensive language?". Play Store won't ban your app because of the questionnaire answers. It's all about understanding the content of the app and issuing the corresponding content rating, so stay calmed and be honest. It takes a while to complete it but it only must be done once for each app.
- Target audience: In this section you need to specify the age group your app is targeting. If your app is designed for children, you will need to take additional steps (e.g. uploading a Privacy Policy).
- News app:Whether your app is a news app or not. If it is you will need to comply with the Google Play News policy.
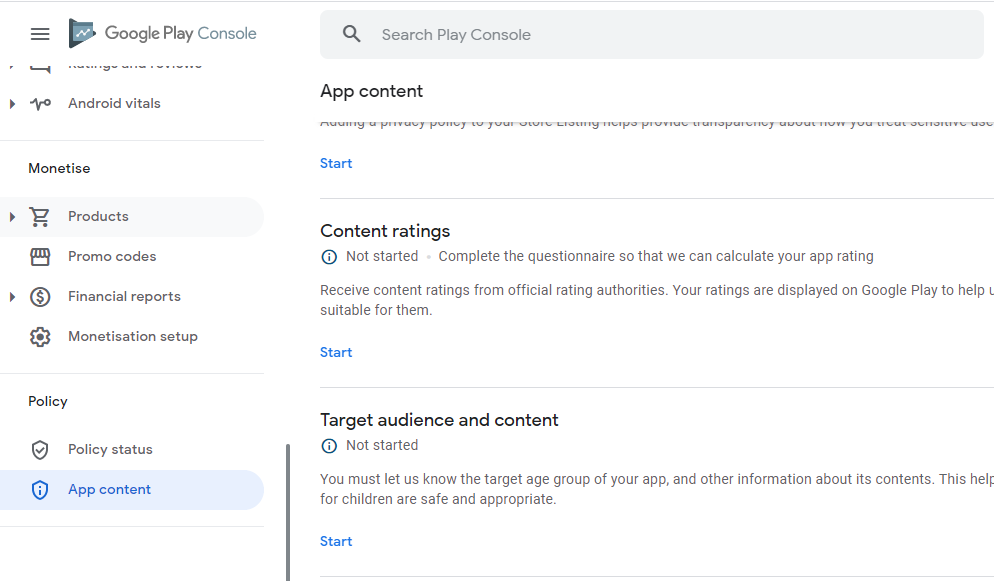
If you need to make changes in any of these sections later, you can access them in the App content section, at the end of the left menu:
Store presence
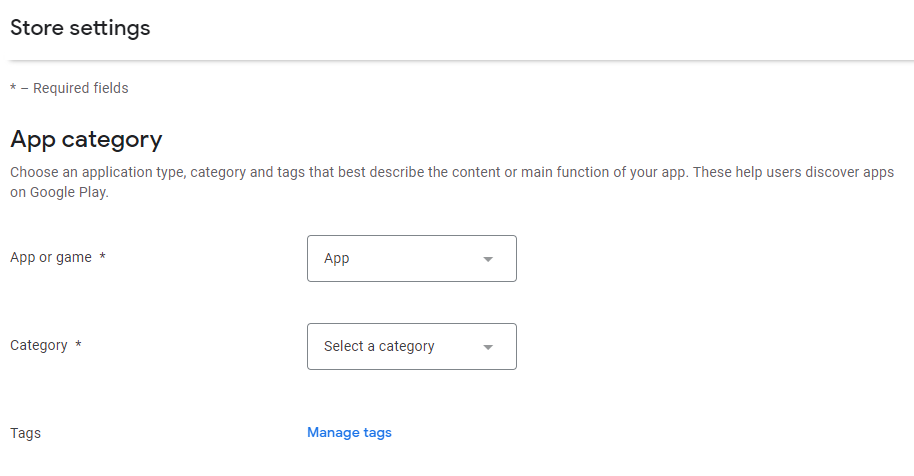
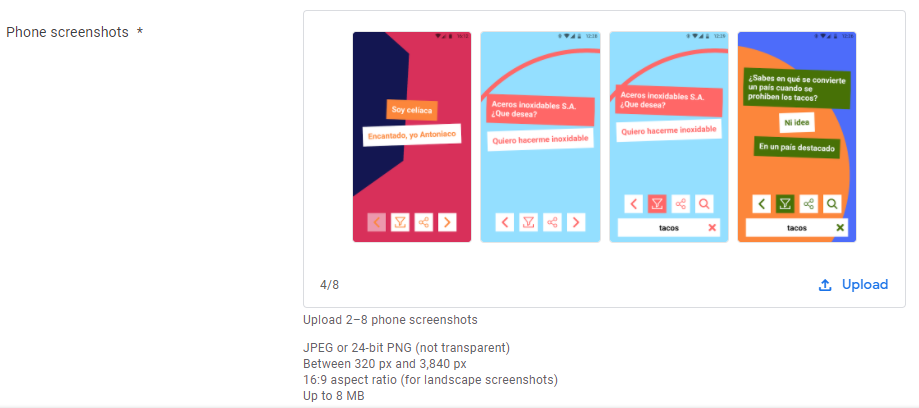
Now things get more interesting 😁 The store presence is the information that will be displayed on your app's page. You will need to choose a category for the app (e.g. productivity, dating, photography, etc.), provide a description for interested users to read and upload some app preview images (they can be screenshots or other images detailing the app's functionality) among others.
A couple remarks:
- 7-inch and 10-inch tablet screenshots are marked as mandatory fields but they are actually not mandatory
- An app can have up to five tags and they are meant to help users finding your app. Choose the more relevant tags for your app, the ones that your target audience is probably interested in
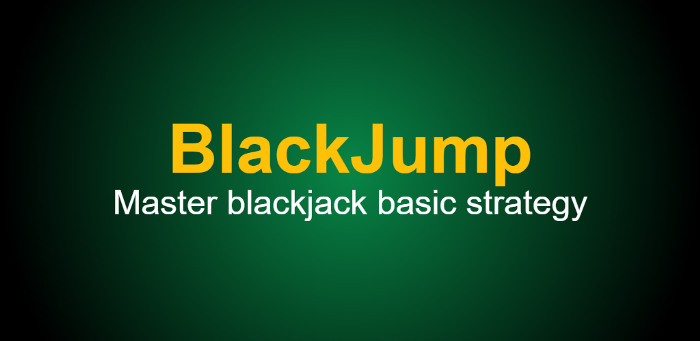
- A feature graphic image is required in order to publish the app. I still haven't figured out where this image is displayed but I did learn that they can be easily created with tools like this graphic generator. Get it done for now and you will worry about it later (if it does become a problem). This is an example from an app of mine:
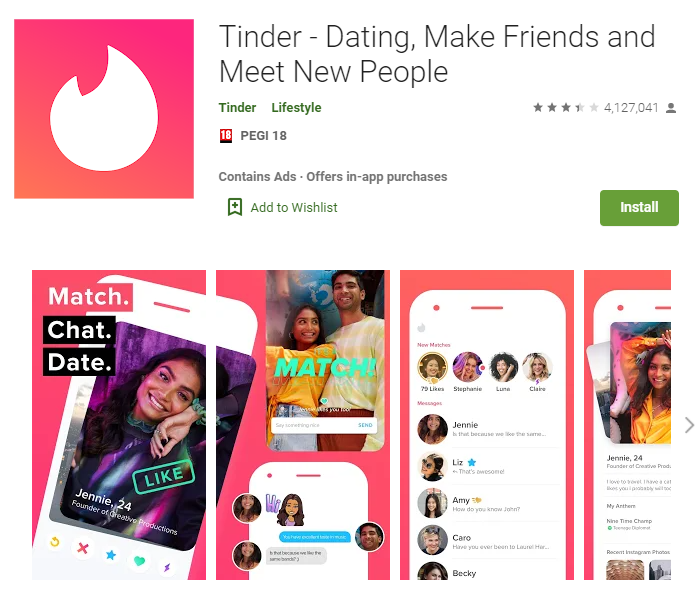
The store presence is something that evolves as your apps does and that you will be allowed to change after your app gets published (with the corresponding review by the Play Store team). Don't worry about getting it perfect from the start: a short description and some screenshots will do. Eventually you can refine your description and upload nice creativities such as Tinder's ones. For now, let's get your app released 🚀
Release your app
Once completed all the previous steps you can go back to your app's dashboard and you will find the steps you need to follow to release the app. For the sake of simplicity I will skip the testing tracks and release the app straight to production. If you instead want to test the app with a small group of users first (which is usually a good idea), just follow the same steps for the corresponding testing track (and maybe read more about testing tracks).
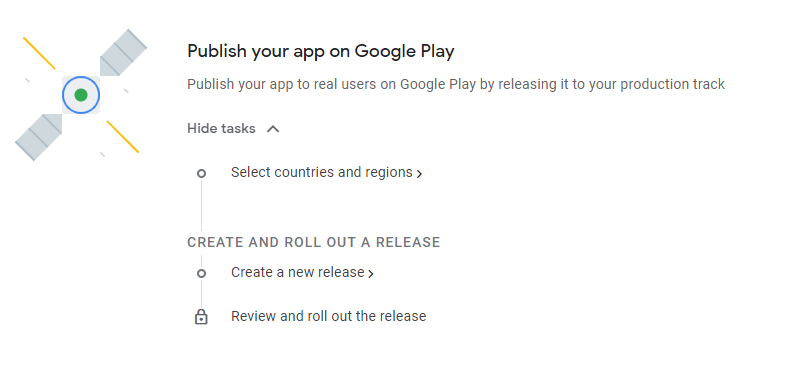
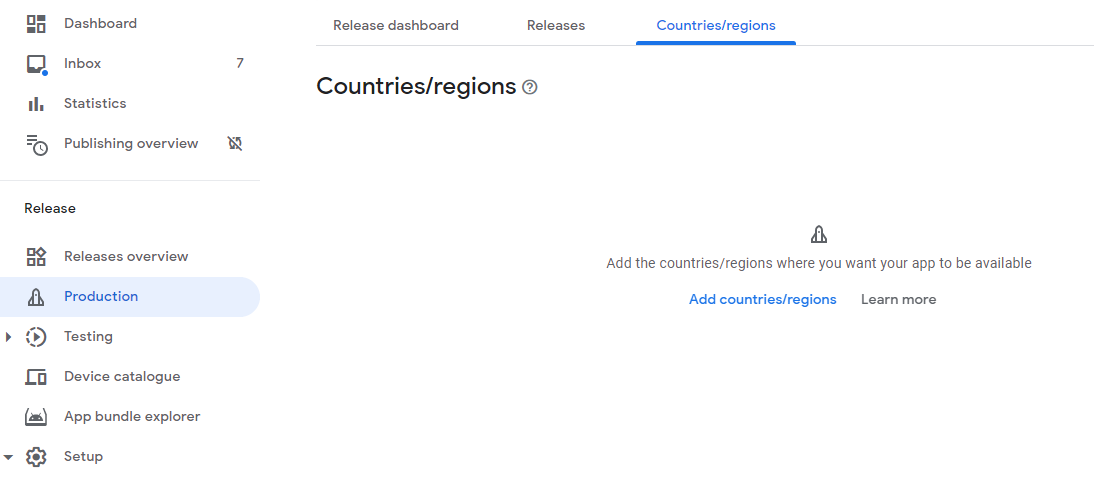
Before rolling out the first release we need to choose which countries the app will be available in. There are no additional charges or consequences for selecting all the countries of the world so go ahead and do so if your app functionality is not limited to specific countries. Some countries might ban your app but, again, it has no consequences and you will find out as you go.
After choosing the available countries we can proceed to create a new release. The first time you will need to configure how your app is signed. The recommended way is to let Google handle the signing process (is simpler and it enables publishing Android App Bundles, .aab files) but you can choose to provide your own key if you like.
Almost there! We just need to upload the actual application file (.apk or .aab), review the release a name (it will be the application version by default), optionally provide some release notes and roll it out! The Play Store team will review your app and get back to you in a few days 💃

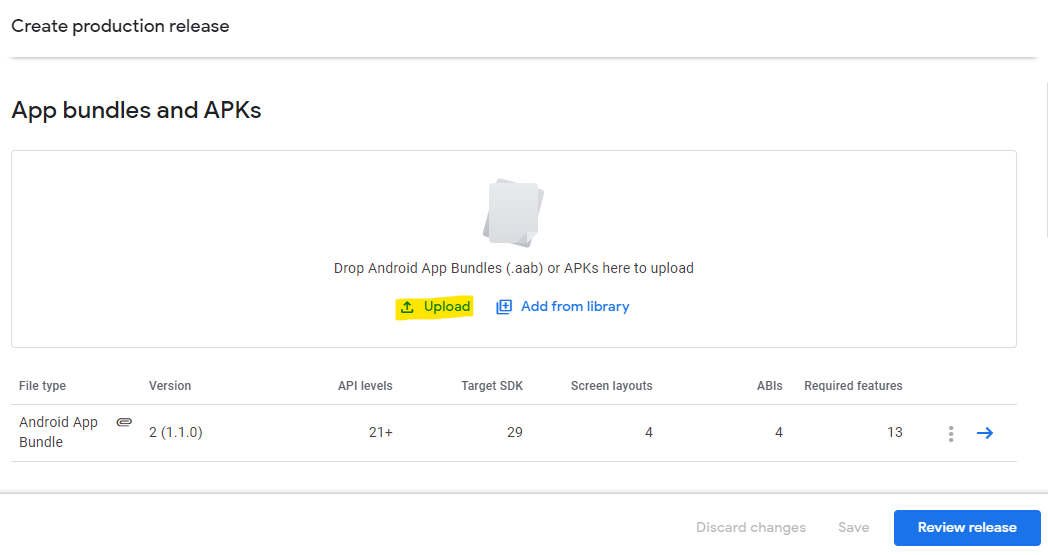
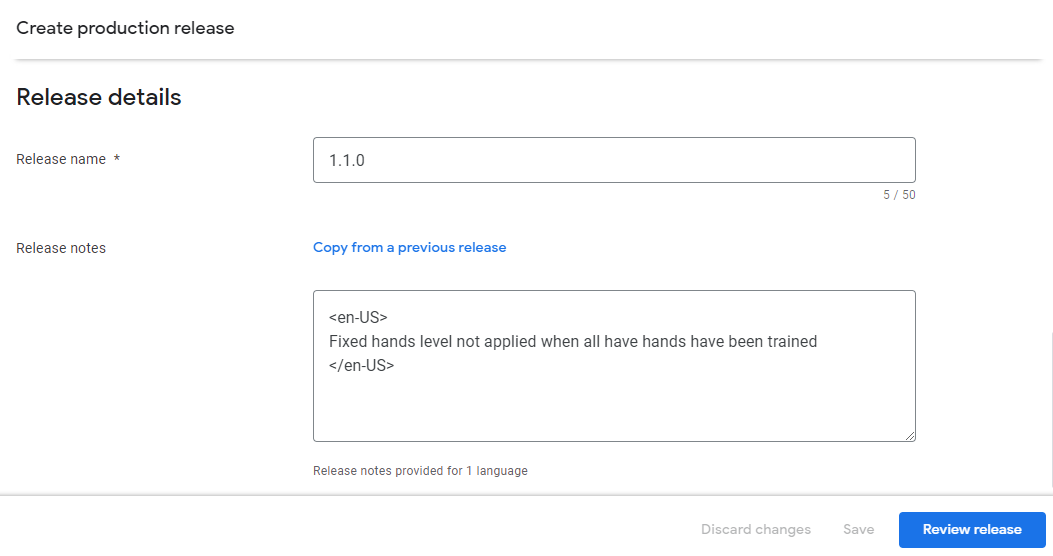
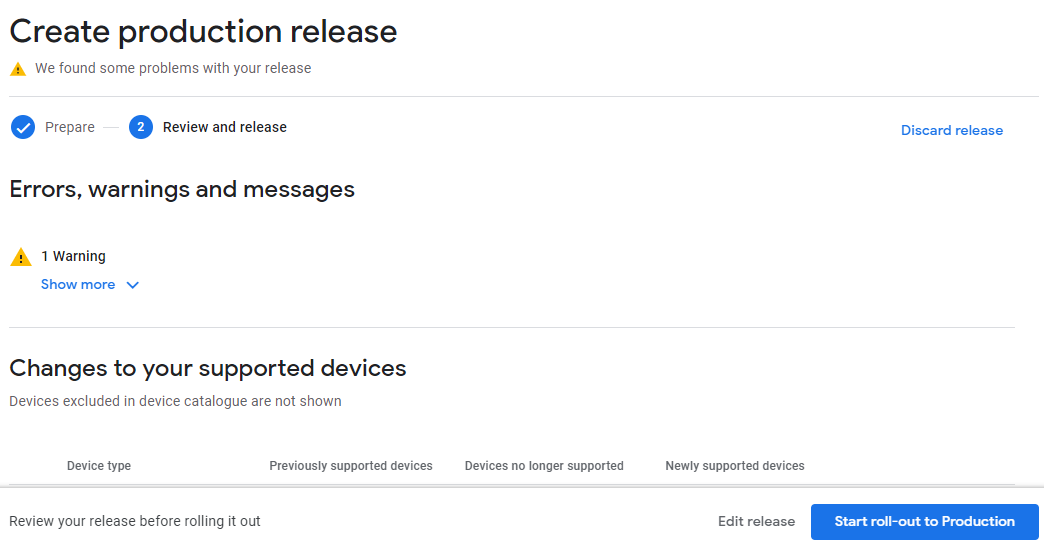
In the final release screen Play Store displays errors and warnings found in your application file (.apk or .aab). In my case the warning states that I haven't uploaded a debug symbol file in order to analyse app errors.
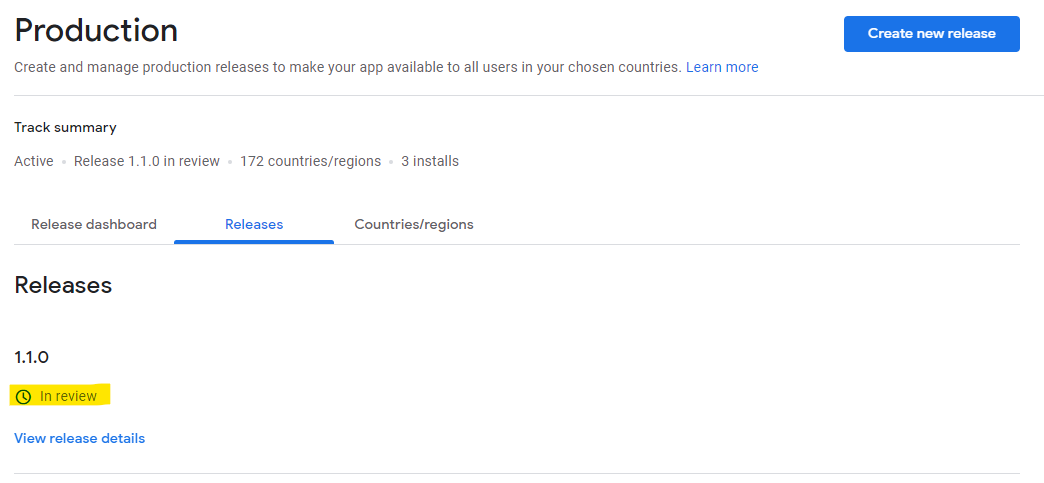
Handling rejection
If the Play Store team doesn't encounter any issue with your app, they will publish it right after finishing the review. If they do encounter issues they will reject your app and write back to you with the reasons for the rejection. Don't panic though! The rejection is not permanent. It just means you are not compliant with some Google Play policy. You will need to go through the email and fix the reported issues.
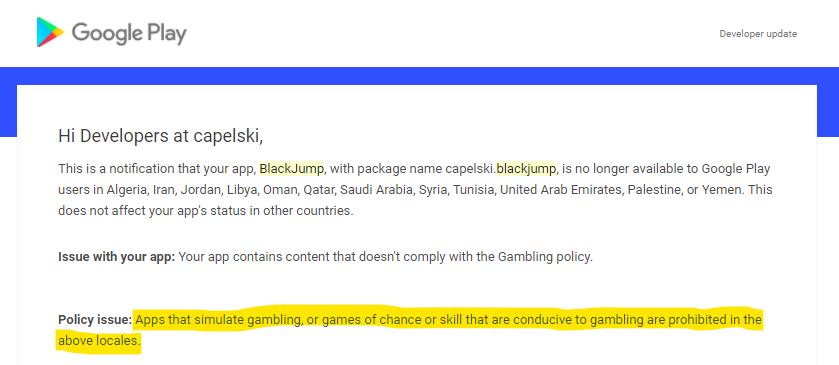
The rejection reasons will vary depending on the nature of your app. For example, if your app contains gambling simulation it will be automatically rejected in a number of countries.
A more common issue you might run into is displaying content in your app's page that is not suitable for all age groups. Even if your content rating is already warning about such content (which will prevent users below the age group from installing the app), the app's page is still accessible to all users. Therefore, your app's page must be suited for all audiences.
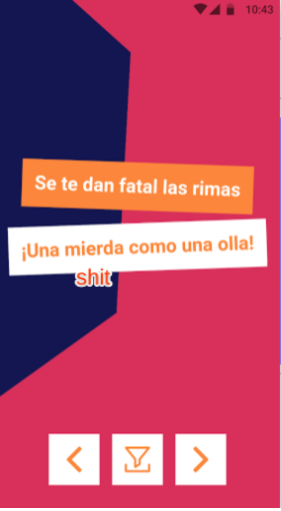
For example, let's say your app has a PEGI 16 content rating because it uses potentially offensive language. If you include offensive language in the app's page (e.g. in the description or in the app screenshots), your app will get rejected. This is what the Play Store rejection mail looks like:
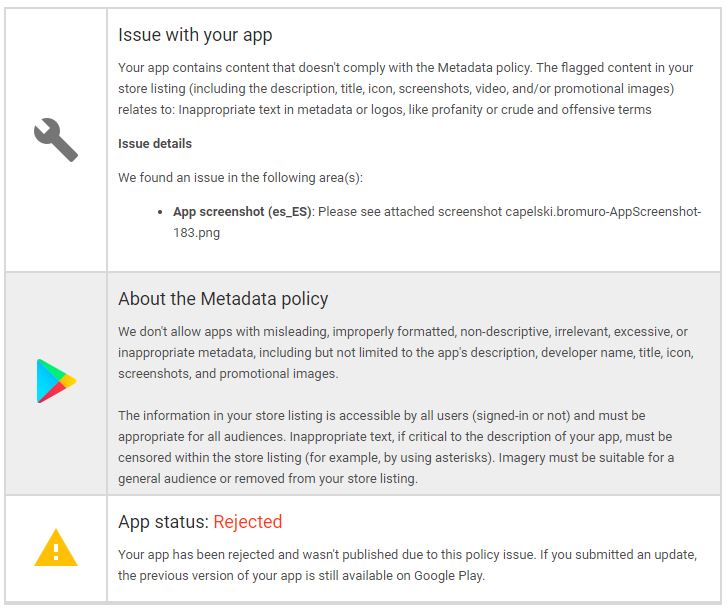
Luckily the rejection reasons are explained in a clear manner, even including an image of the app screenshot that doesn't comply with the metadata if that's the case. In this case (in spanish) the Play Store team even highlighted the offensive word:
Don't lose heart, spend some time fixing the issues and eventually you will get an email stating that your app is now published 🍾
