Need somewhere to host your WordPress site? Google Cloud Platform makes it specially easy, providing pre-configured virtual machines. Your site will be up and running in under an hour, using your custom domain, accepting HTTPS traffic and being able to send emails from contact forms.
Before reading the article be aware that there are many alternatives when it comes to hosting WordPress pages. Having WordPress in GCP is not the cheapest one by far: around 22€/month for a small instance based on my last invoice. If you don't need a dedicated virtual machine consider using other hosting solutions. GCP is a good fit if you are already using it as your cloud infrastructure provider.
Creating the WordPress site
WordPress is written in PHP and runs on Apache. You can create a Compute Engine instance (i.e. a virtual machine) yourself and manually install those dependencies or let Google do it for you. I'm a fan of the latter so let's use the GCP Deployment Manager to create our WordPress virtual machine.
In order to use the deployment manager you will need to enable it's API if you still haven't done so. You can then head to the Marketplace and deploy a solution from there. The one we are looking for is the WordPress Multisite by Google Click to Deploy:
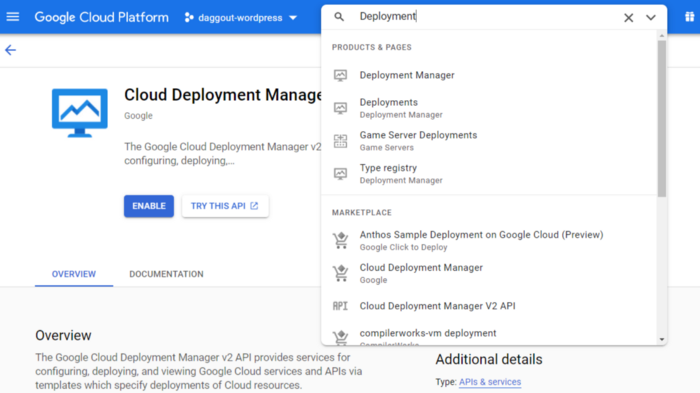
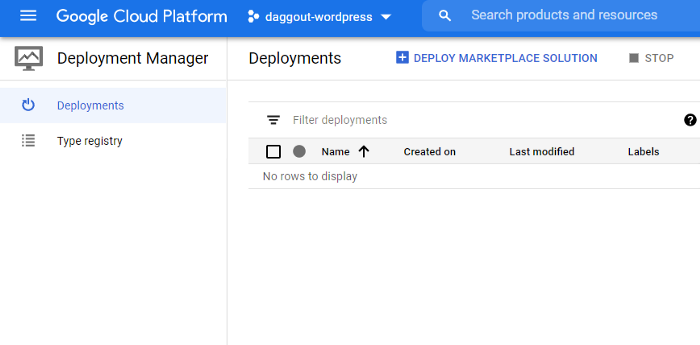
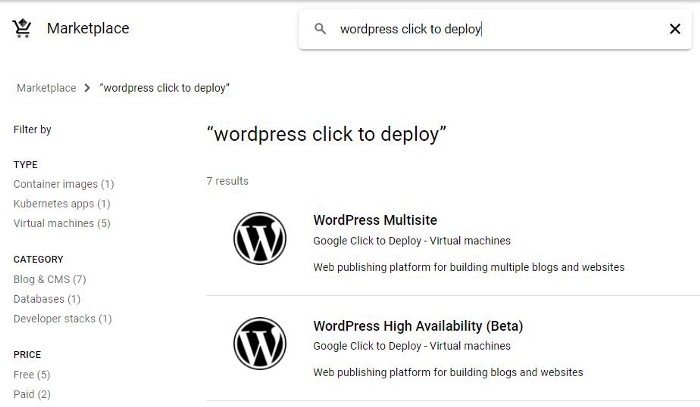
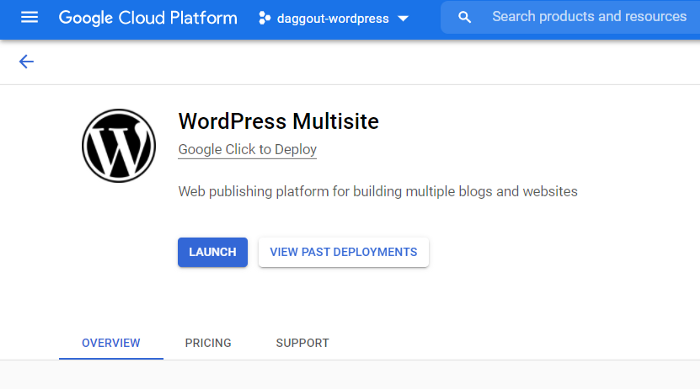
If Compute Engine hasn't been initialized for the current project, launching the deployment will automatically initialize it. Wait a bit while it does so.
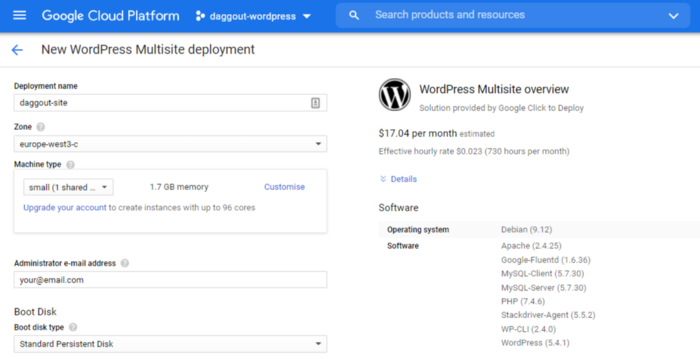
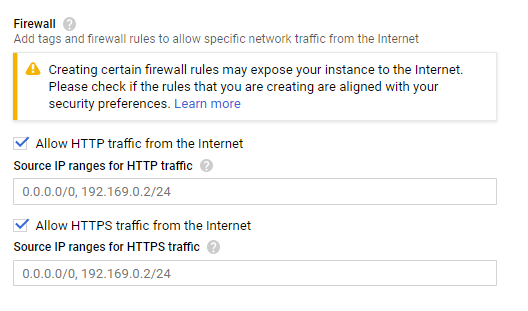
You will next need to give your deployment a name, provide the email of the WordPress site administrator and you are good to go! Make sure you enable the Allow HTTPS traffic from the Internet option if you want your site to be accessible over HTTPS. You can also choose the geographical zone where the virtual machine will be created and pick the machine type (you can see the estimated monthly rate depending on the selected type).
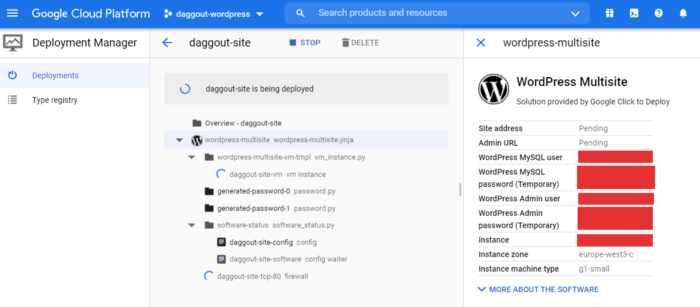
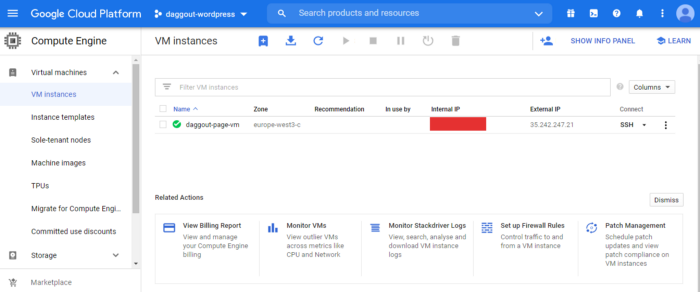
When the deployment finishes the details on the right panel will be populated and you will find a new virtual machine in the Compute Engine page. You can access the WordPress site at the external IP address of the virtual machine. If you try to access it over HTTPS however, the page will fail to load and you will get a connection timed out error.
Enabling HTTPS traffic
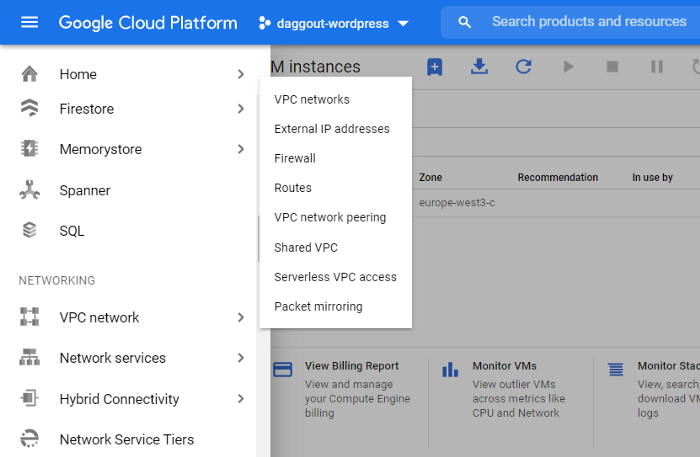
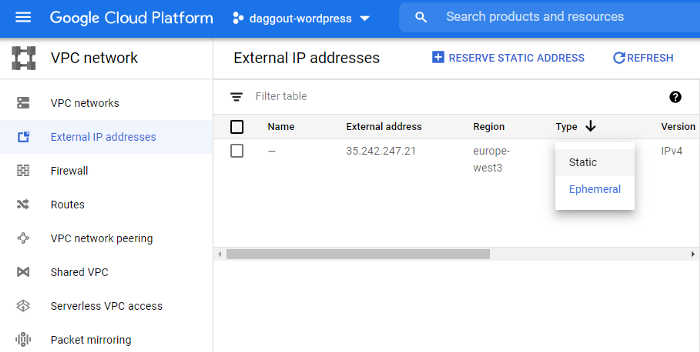
In order to enable the HTTPS traffic there are a few additional steps that must be covered. To begin with, SSL certificates can't be issued to IP addresses; we need to set up a domain name for the site. First we need to make the virtual machine external IP address static (otherwise the IP address might eventually change over time). Head to VPC Network > External IP addresses and select Static for the corresponding address:
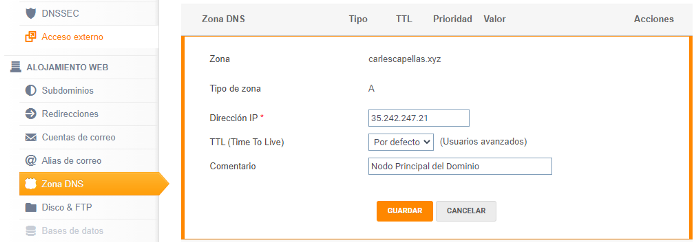
Having an static IP address we can use it to point our domain name to. This needs to be done from the domain registrar where you purchased the domain name in. Each registrar has a different user interface. Search for the DNS management section and create an A record to point to the static IP address. After the changes are propagated you should be able to access your site through the domain name over HTTP:

Ok! Let's get the HTTPS running and move on to something else before we lose heart. We will do so by generating an SSL certificate with certbot. There is a great guide on how to do it in OnePageZen. Here are the summarized steps (check the guide for more details):
- Connect to the virtual machine through SSH (from the Compute Engine page)
- Download and install certbot-autosudo apt-get install certbot python-certbot-apache -t stretch-backports
- Generate an SSL certificatesudo certbot --apache
- Restart Apache serversudo service apache2 restart
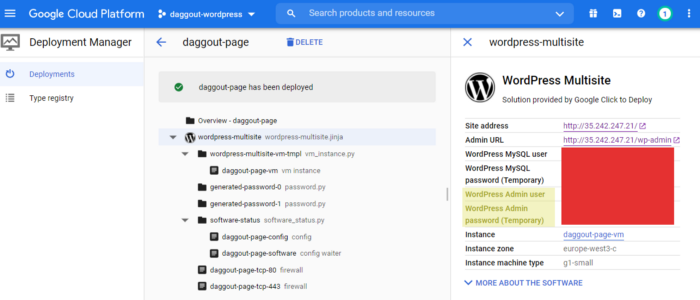
- Update WordPress URLs. Log in to the WordPress site using the credentials you will find in the right panel of the deployment manager. Navigate to settings and set both WordPress Address (URL) and Site Address (URL) to the HTTPS version of your domain:
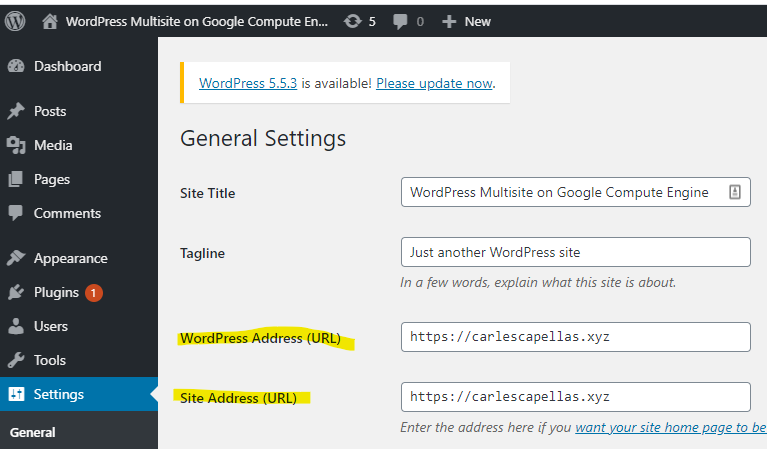
Save the changes and celebrate while you access your site over HTTPS 🍾 You are almost done with the site configuration. There is one last aspect we need to consider before you start playing with the wordpress site customization: emails sending.
Sending emails from WordPress
WordPress has a variety of plugins to easily create contact forms and send the inquiries by email (e.g. wpforms). However, most of those plugins rely on sending emails through TCP port 25 which, on GCP virtual machines, is always blocked due to the risk of abuse.
The easiest way for the emails to make it through the GCP firewall is to use a third-party email service provider. There are three different providers available. I went with Mailgun (the free tier offers up to 10,000 emails per month) but you can use SendGrid orMailjet if you like them better.
Before start configuring any of those services, we need to create a new rule in the firewall to allow outbound traffic. Any port other than 25 would do the trick, but we will use 2525 because Mailgun listens on that port. This is done from the VPC Network > Firewall page and it's described in this section of the GCP documentation:
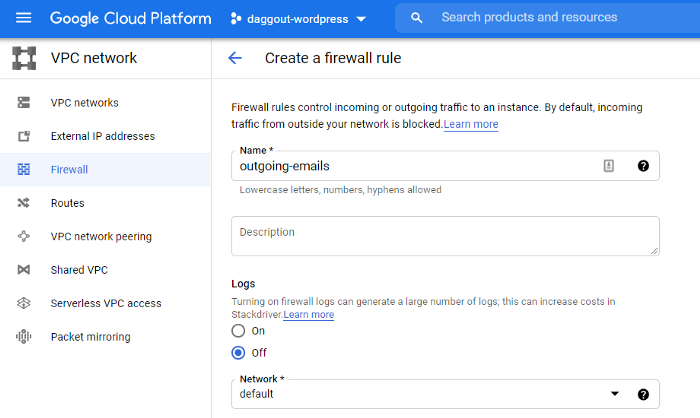
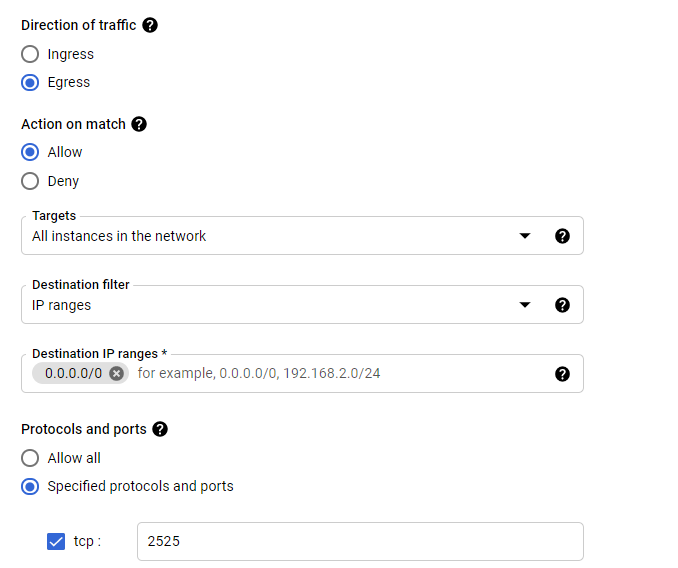
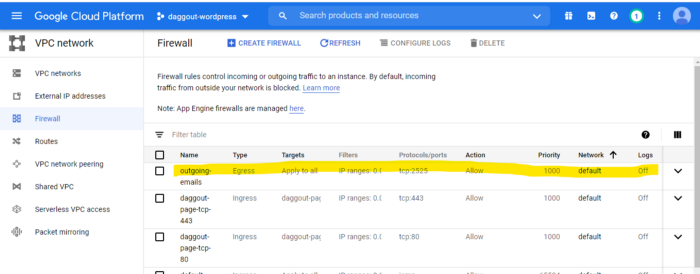
Next we need to configure the email provider. First head to Mailgun (or the provider of your choice), create and account and add a domain in the Sending > Domains section. As recommended by Mailgun, you should use a subdomain (e.g. mg.your-domain.com) as the domain name.

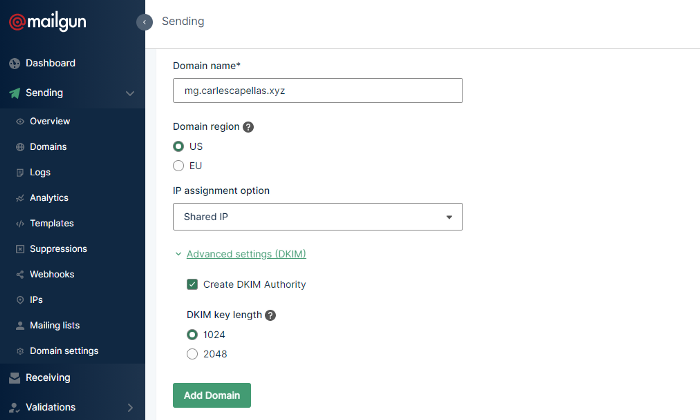
Again, you will then need to create some DNS records in your domain registrar. Mailgun provides descriptive information on how to do it right after adding the domain (you will later find this page in Domain settings > DNS Records). The only mandatory records are the first two TXT. Don't create the MX records if you have already configured email for your domain with a different provider. Optionally create the CNAME record if you want to enable tracking functionalities.
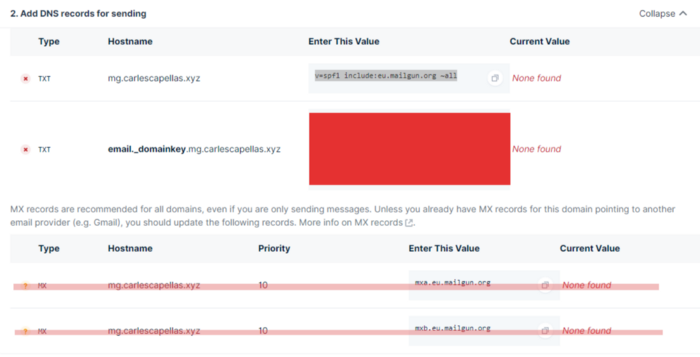
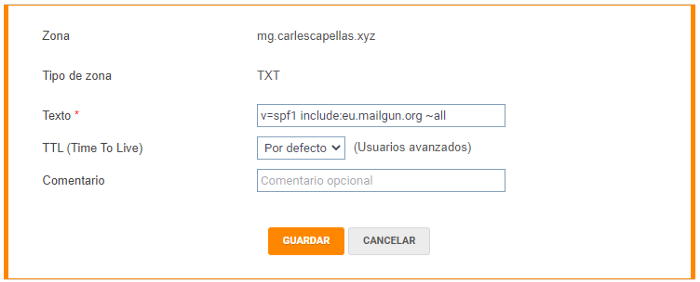
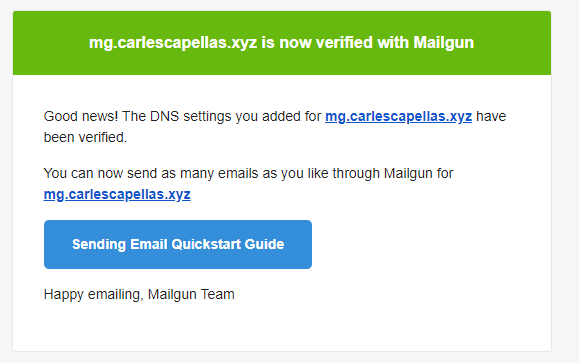
Once the domain has been added and verified we will need to get the SMTP credentials for later use when configuring the service (not the Mailgun user credentials). You can find them in Domain settings > SMTP credentials. The login is likely to be postmaster@mg.your-domain.com and the password can be retrieved by resetting it (it will only be displayed once, so store it in a safe location).

Having your credentials ready there is only one thing left to do: configuring the service in the virtual machine 💪 The steps are explained in great detail in the GCP official documentation. It's just a matter of executing the provided commands through an SSH terminal, so I won't duplicate the steps here. In the "Generate the SASL password map" step you will need to use the SMTP credentials collected above.
Important! If you select EU as the Domain zone when adding the domain name in Mailgun, replace smtp.mailgun.org with smtp.eu.mailgun.org (steps 7 and 10.b). Not doing so will lead to 535 Authentication failed errors when trying to send emails (step 15) and countless hours of frustration while searching for a solution to the problem in StackOverflow.
And that's pretty much it 🎉 You can now sit back and relax. You have accomplished enough for today: creating a WordPress site, accepting HTTPS traffic and enabling emails sending. From here on is up to the marketing guys to choose a nice template, fill the pages with content and tell all of their friends they are now developing websites.