So you heard that Apple is rather picky when it comes to accepting apps in App Store. And indeed, Apple does make it much harder than Google when it comes to publishing apps. This doesn't mean it's impossible however. All you will need is patience and, if possible, following the advice of somebody who has done it before. This is what it looks like to upload an iOS to App Store in January 2021.
Both App Store and Play Store require you to purchase a developer license. While Play Store's license is cheap ($25) and lasts forever, Apple's one is more expensive ($100), must be renewed every year and the upload process is more complicated. I recommend starting with Play Store, testing the app with some users in the production environment and once everything is ready, move into App Store.
Important! You will need a Mac device or virtual machine to upload the app to App Store. The only way to upload apps is through XCode or Transporter and they both can only be installed in MacOS.
Apple Developer Portal
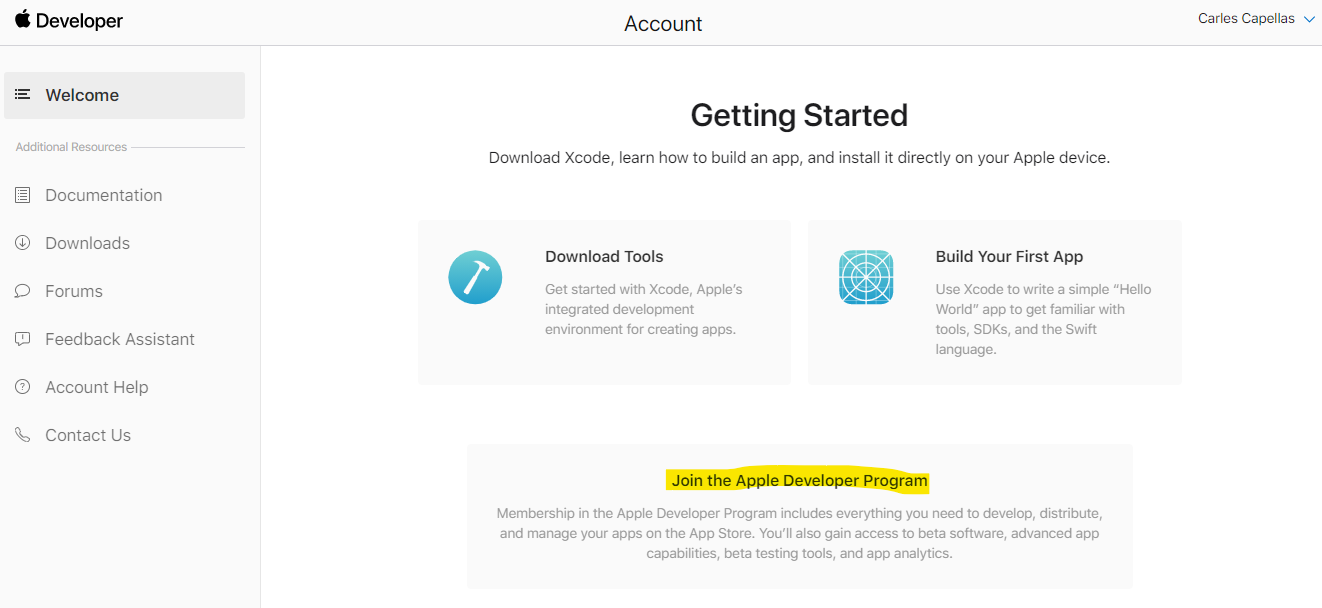
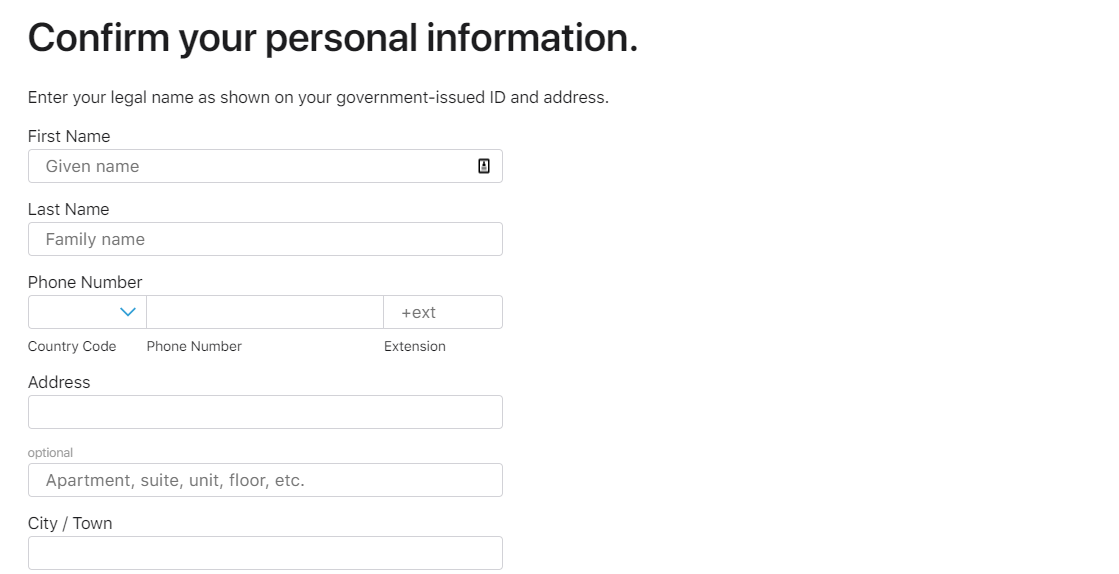
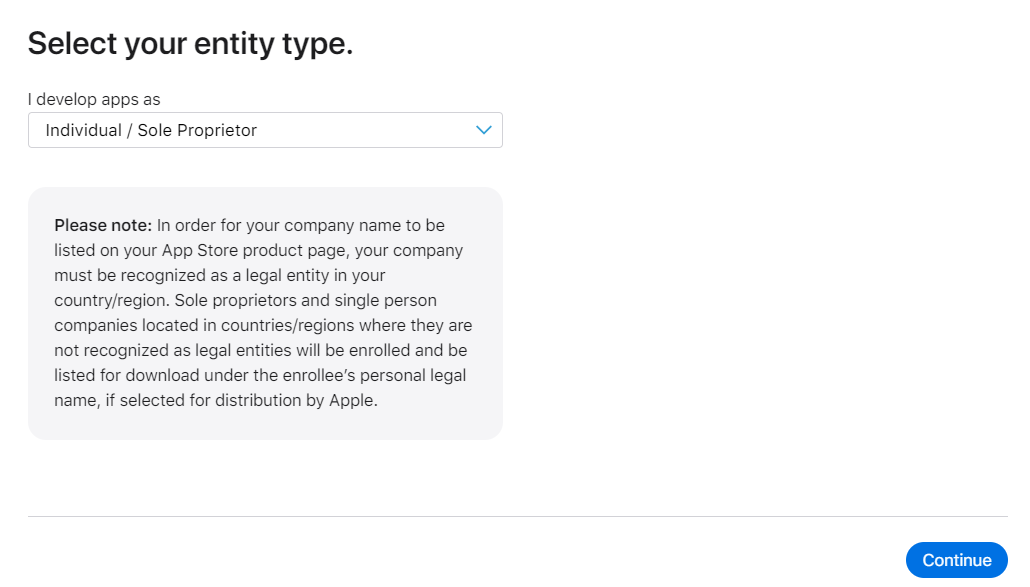
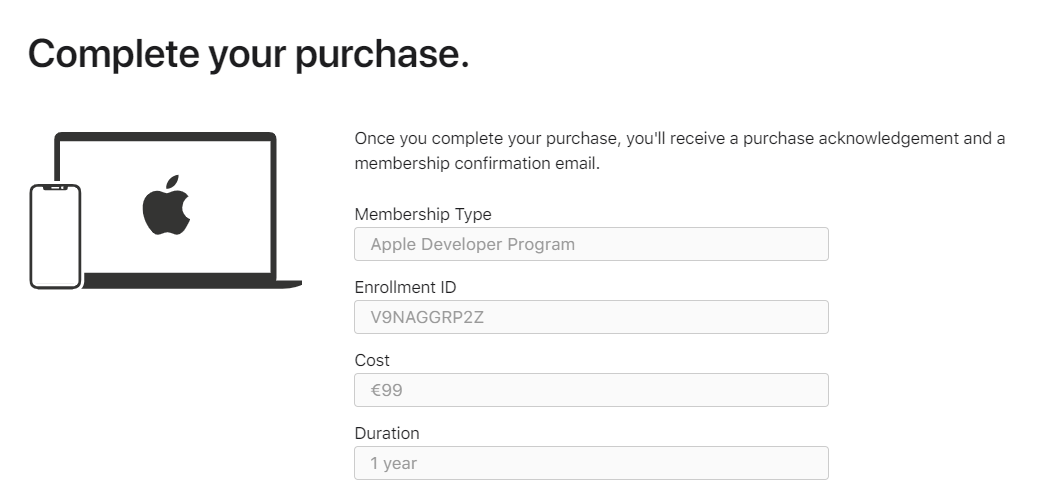
In order to upload an app to App Store you will first need to create an Apple Developer account in the Apple Developer Portal. Sign in with your Apple ID, fill the enrollment form, pay the $100 registration fee and let's move on.
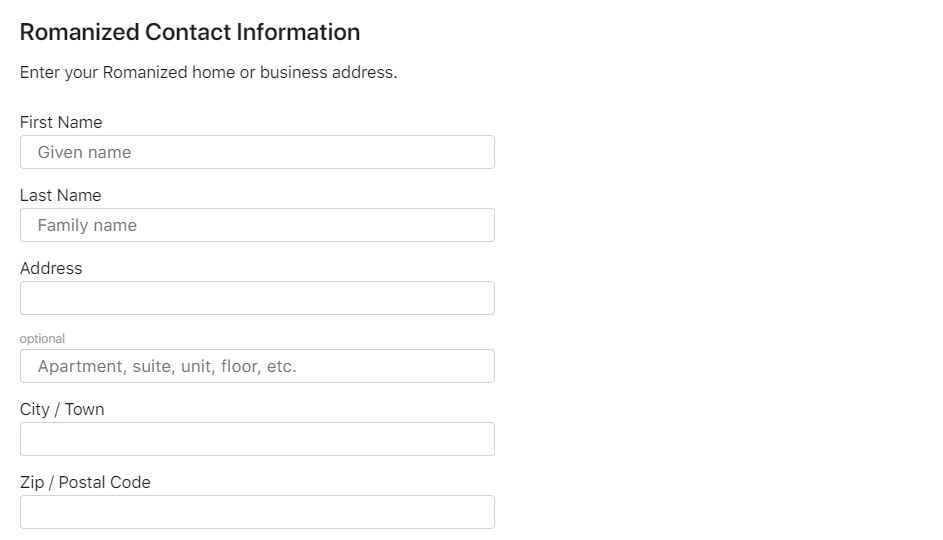
You will notice you get asked twice for the same details in the Romanized Contact Information. "Romanized" stands for latin alphabet here, so I guess this section is meant for users who write in non-latin alphabets (e.g. cyrillic, chinese, etc.). In your case, enter the same details you filled above.


After your Developer Program Enrollment finishes you will be able to access developer resources from the Apple Developer Portal. Here you will need to create a few items:
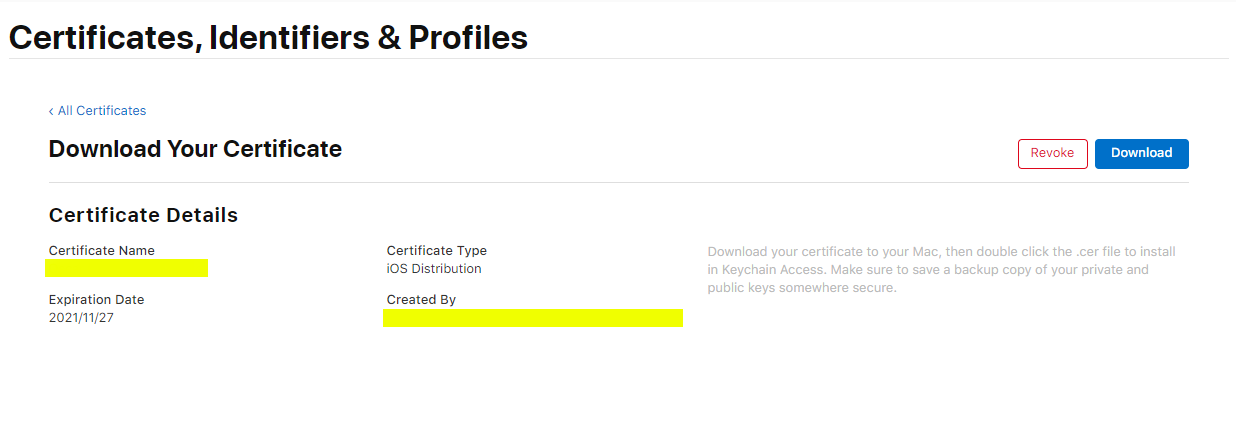
- Distribution certificate: Certificate that identifies your team and allows you to submit apps to the App Store. Here is a great guide on how to create a distribution certificate manually (you will need to generate the certificate from a Mac).
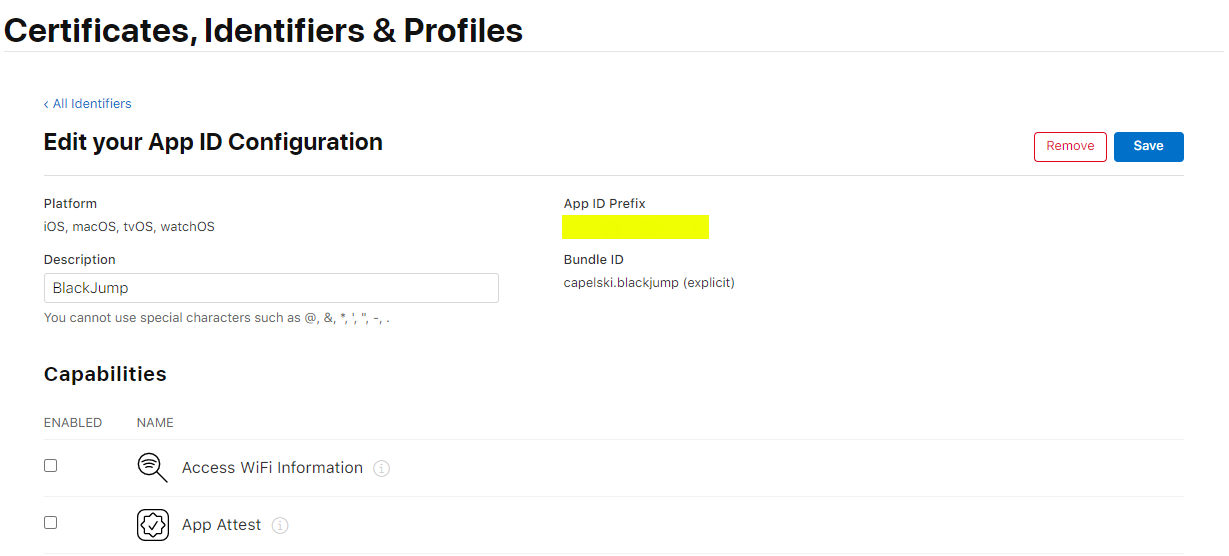
- App ID: The identifier of your app. The Bundle ID must be the same as the bundleIdentifier in your app binaries. When creating the App ID manually you will see a list of capabilities your app can add to your app (e.g. Push Notifications, Sign In with Apple, etc.). You can edit those capabilities later, so you don't need to configure them now.
- Provisioning profile: Only apps signed by Apple can be installed on an iOS device. This becomes an issue when developing, because you will likely want to test the app on a real device before submitting the app for review. Provisioning profiles are the solution to this problem; they are embedded in your app binaries and allow the app to run in certain devices before Apple signs it. A provisioning profile must be created for each app.
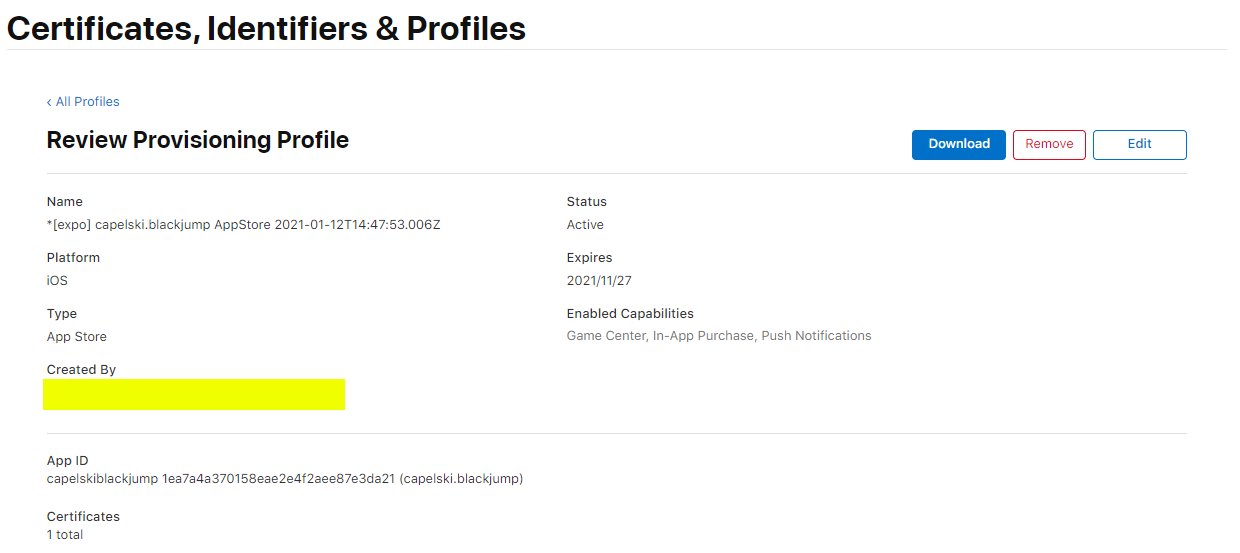
Creating this items is the most confusing and undocumented part of the entire upload process. I can't provide much more details about it since I am using Expo to develop iOS apps and I relied on their CLI to generate both the distribution certificate, the app id and the provisioning profile.
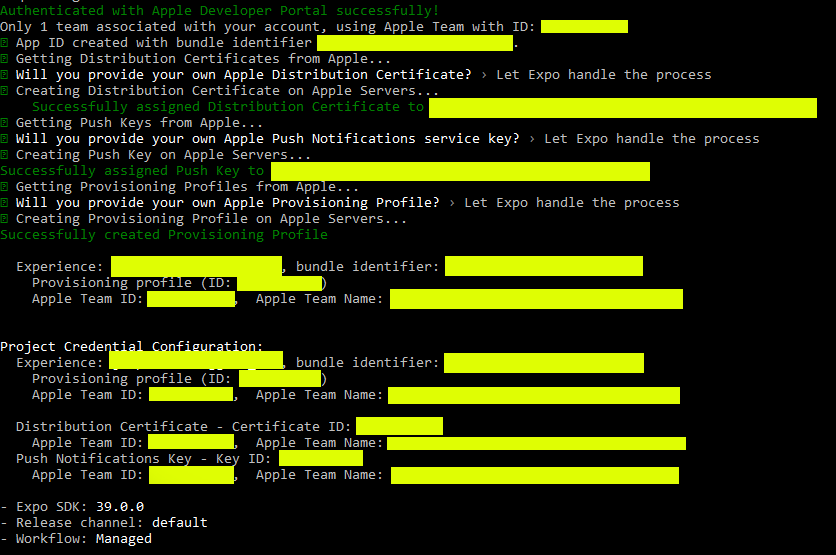
If you use Expo CLI from Windows and run into Apple Developer Portal authentication issues, consider running the command in an Ubuntu terminal using WSL (Windows Subsystem for Linux). Neither Command Prompt, PowerShell or Git Bash were able to authenticate at the time of writing.
App Store Connect
After you have successfully created the items described above in the Apple Developer Portal, we can move on to App Store Connect (former Itunes Connect), the platform where application binaries are actually uploaded.

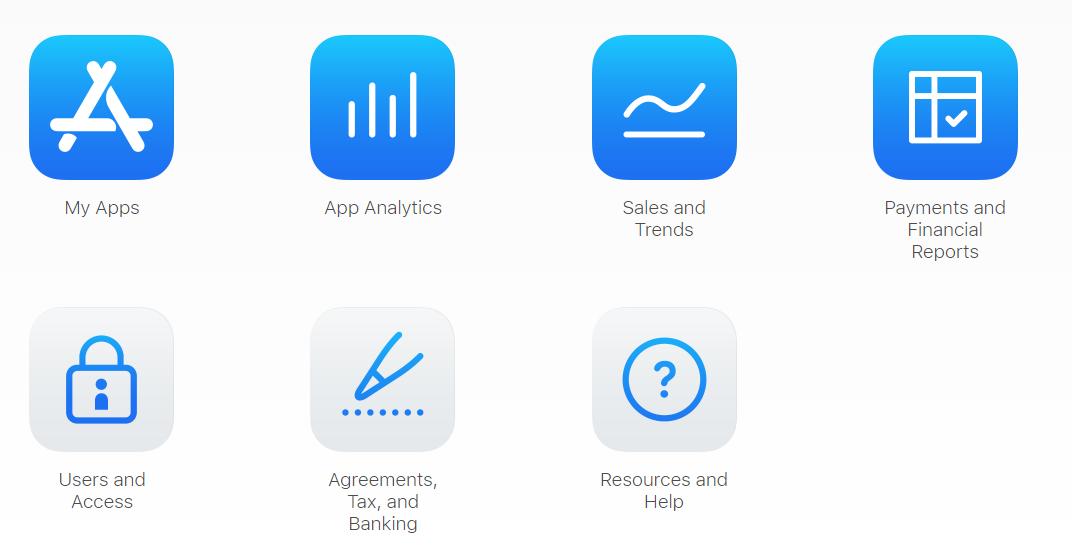
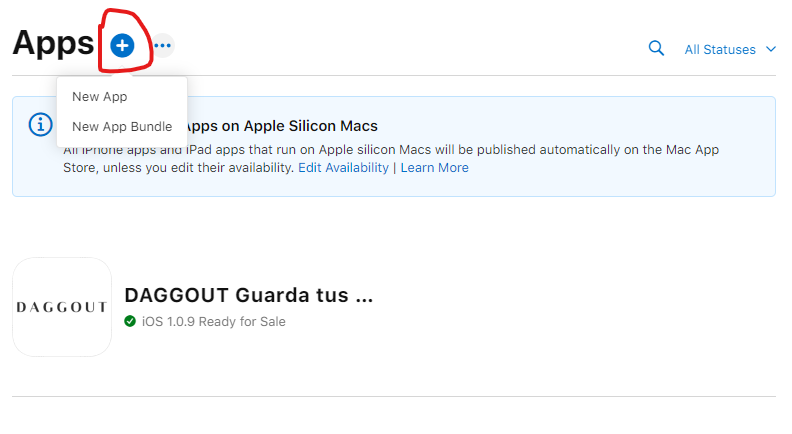
Click on My Apps and, once in he Apps page, create a new app by clicking in the + button. You will be asked a bunch of details about the app. In the Bundle ID field pick the App ID you've just created in the Apple Developer Portal. The SKU is a unique ID not visible to app users: you can use the bundle identifier or any other relevant text.
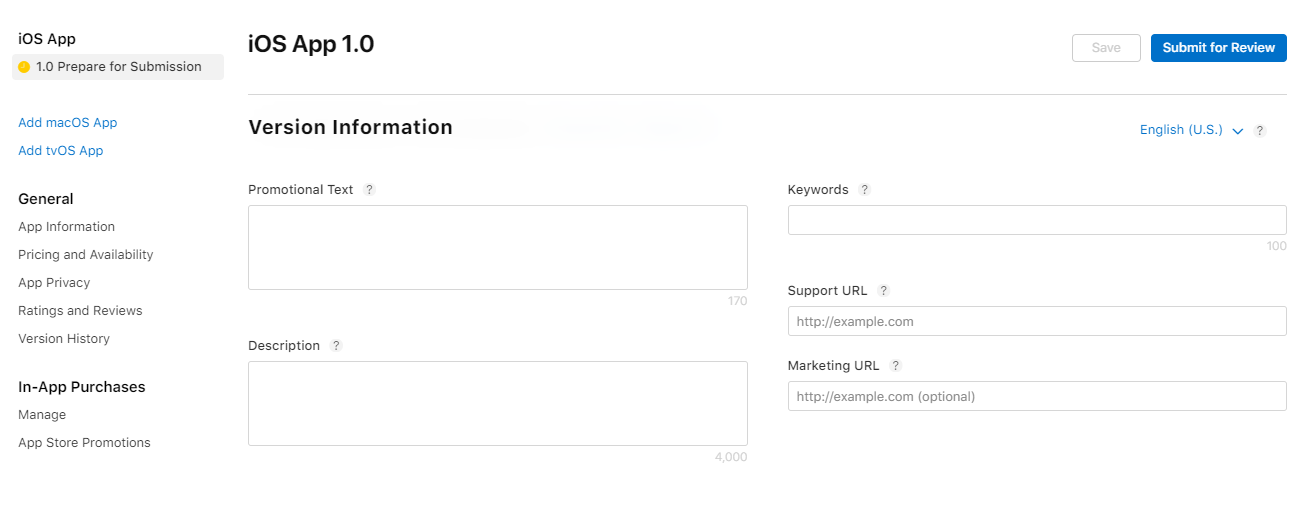
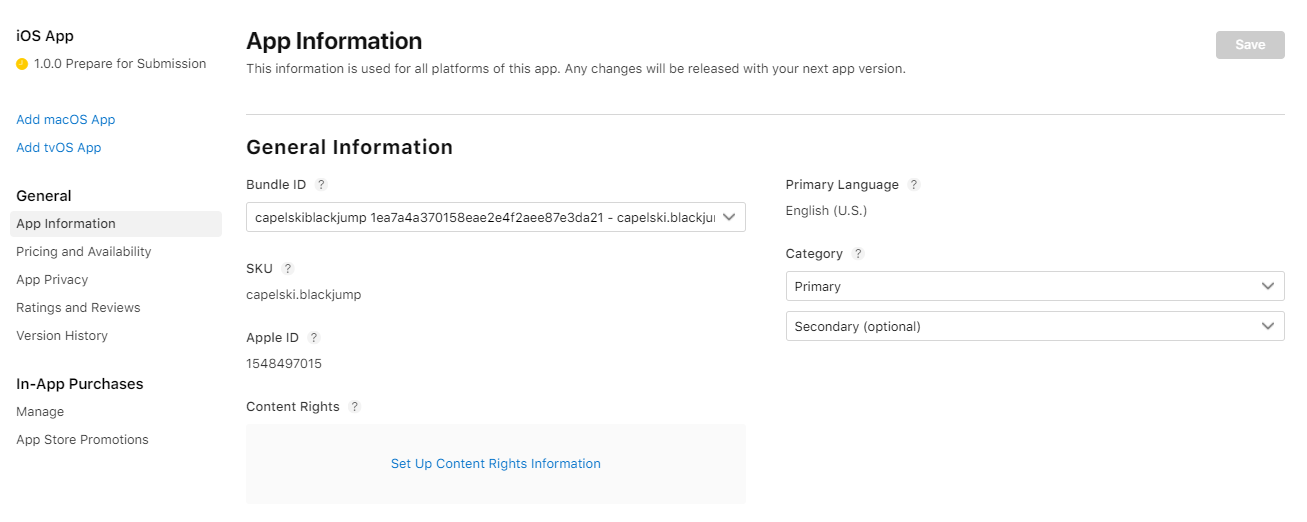
When the create operation finishes you will then be directed to the app settings page, where you will need to provide plenty of information about your app. Filling all the required sections is mandatory in order to submit your app for review.
The simplest approach to getting your app ready consists in clicking the Submit for Review button, fixing the errors that will be reported and then clicking the button again, until no more errors are reported. Here is an overview of some of the sections you will find:
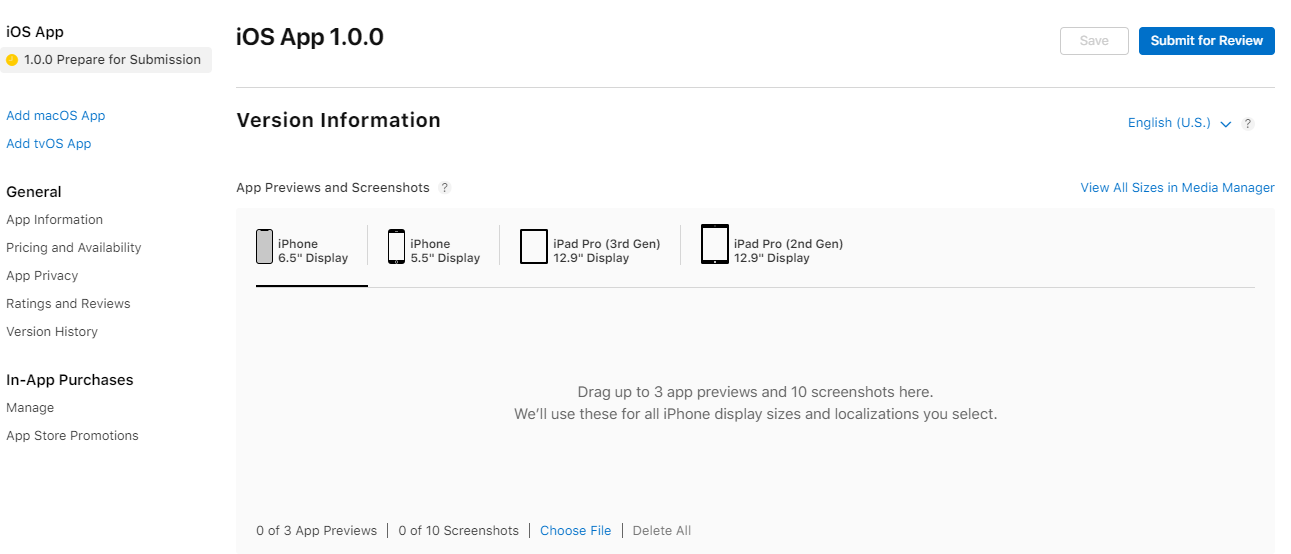
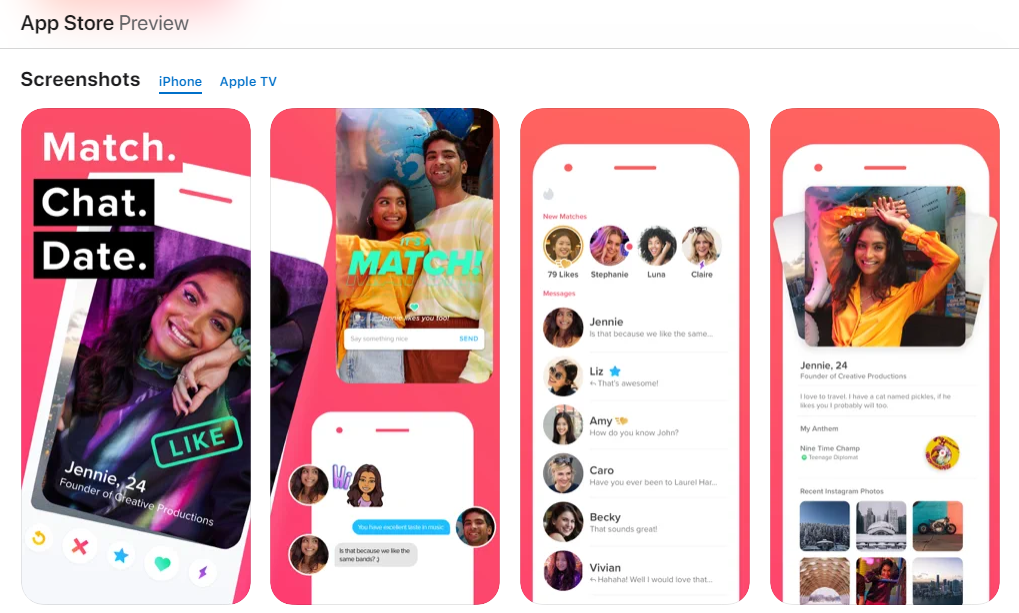
- iOS App > Version Information > App screenshots: You will need to submit screenshots for different device sizes: 6.5 inches iPhones (1242 x 2688px or 1284 x 2778px), 5.5 inches iPhones (1242 x 2208px) and iPads (2048 x 2732px). You can capture those from an emulator / real device or you can generate some images featuring the app look and feel (e.g. the images on Tinder's app store page), as long as you use the required sizes and the app content on the images matches the app appearance. The images you attach here are the ones that will be visible on your app's store page.
- iOS App > Version Information > Support URL: It's not enough to put a URL to your landing page. The Apple team will visit the link and look for user support content (e.g. a contact form).
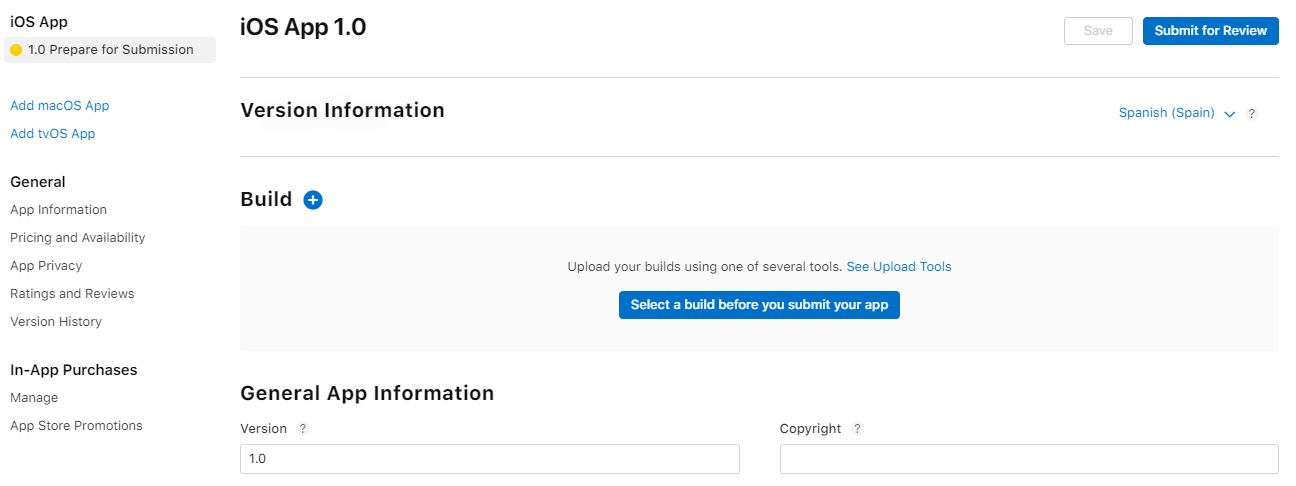
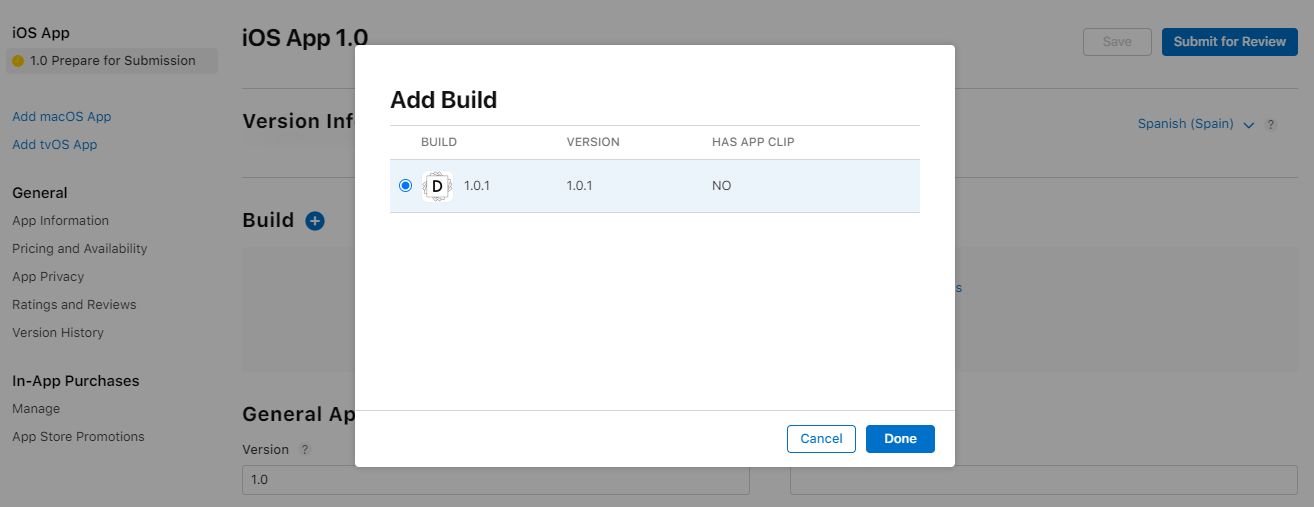
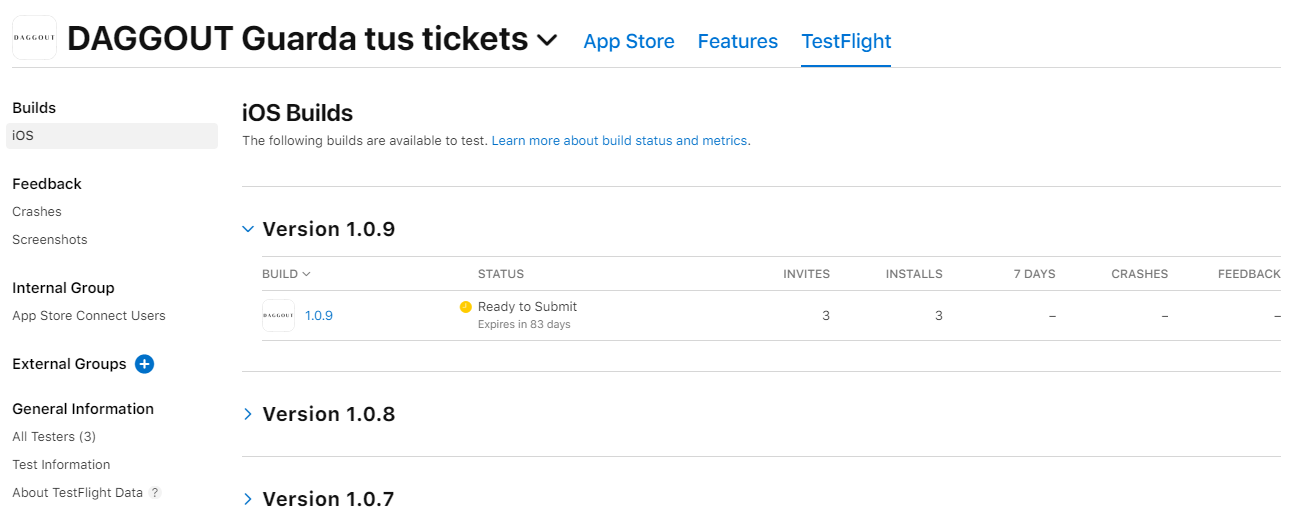
- iOS App > Build: Here you will need to select the actual app file (.ipa format), but it's not possible to upload it directly to App Store Connect. You will need to use XCode or Transporter to upload the generated .ipa file. When the upload finishes you will find a new app version available in this section. You can see a list of all available versions in the TestFlight tab.
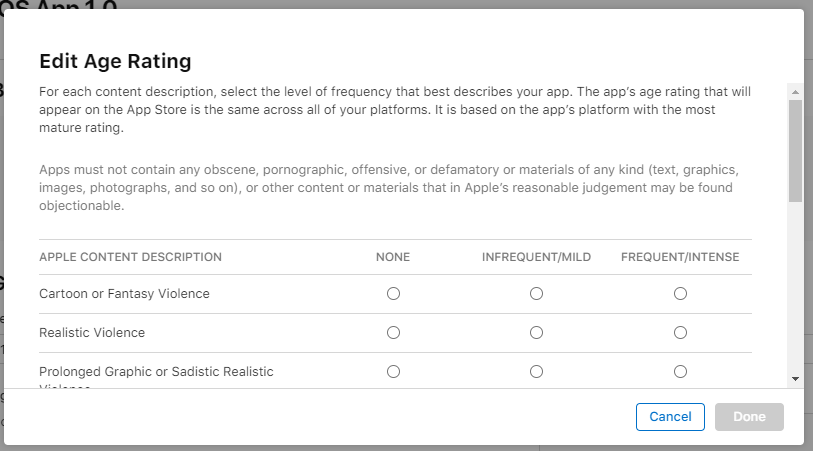
- iOS App > Age rating: You will be asked questions about the type of content in your app. There are no rights or wrongs. It's only about determining age restrictions for certain types of content. The Unrestricted Web Access item means whether users can access any URL inside your app (e.g. a web browser).
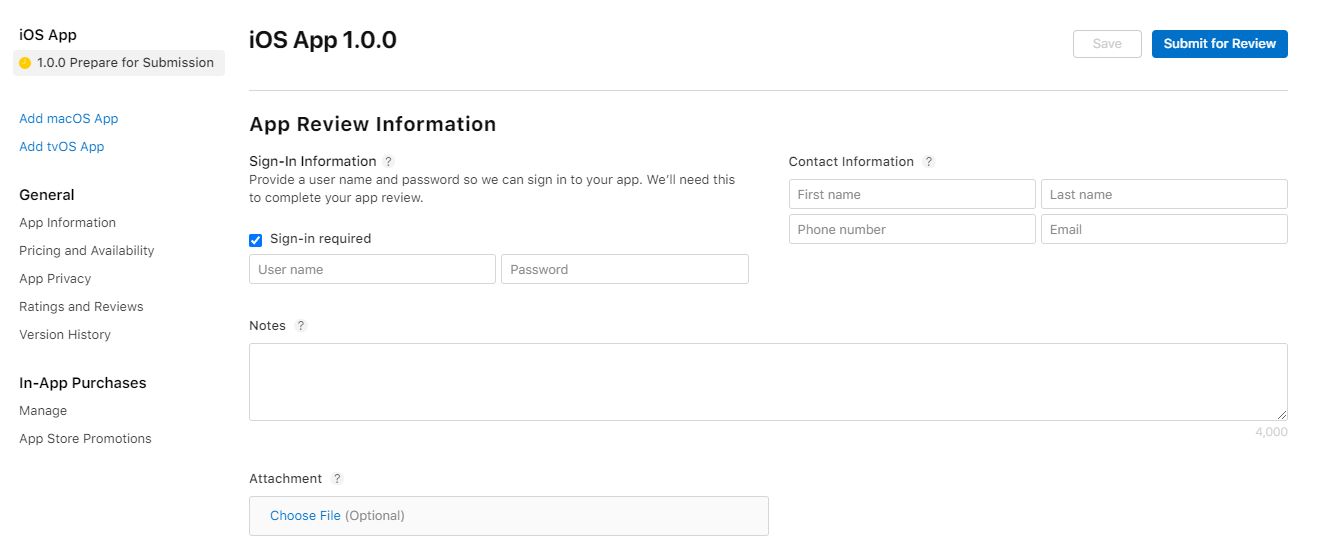
- iOS App > Review information: If your app requires users to authenticate (e.g. creating an account or using an identity provider such as Facebook), you will need to provide demo credentials. Create a testing account in your app and add the username and password in this section.
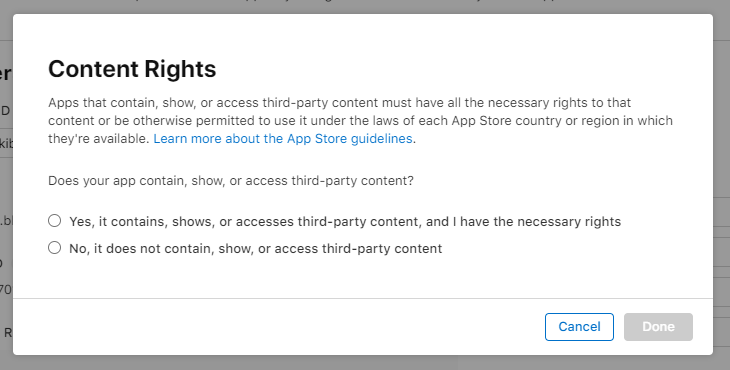
- App information > Content rights: Here you need to confirm that you don't use third-party content or, in case you do, that you are allowed to use such content. If you use a public API for example, you are allowed to use it given it's public.
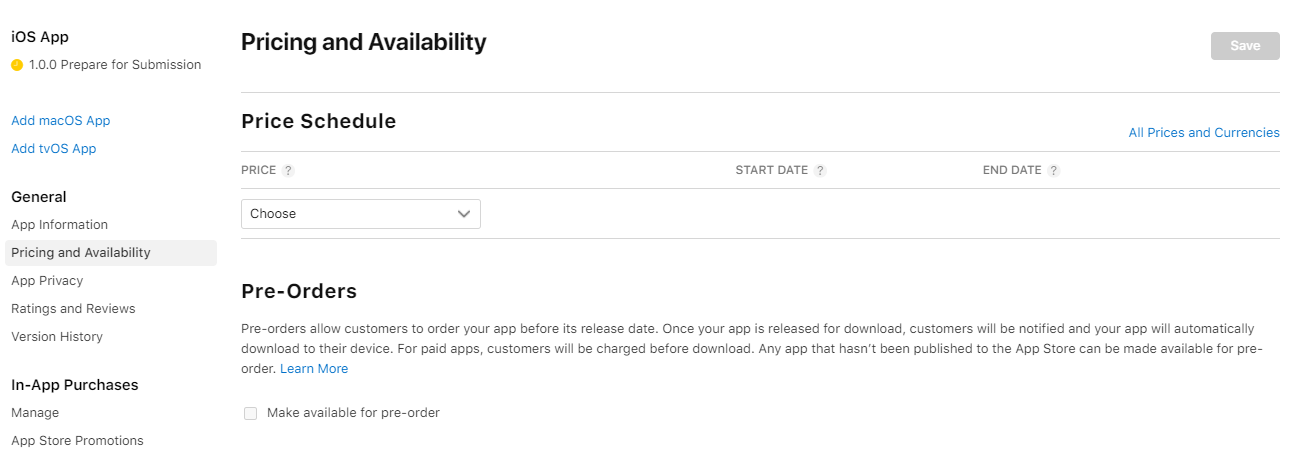
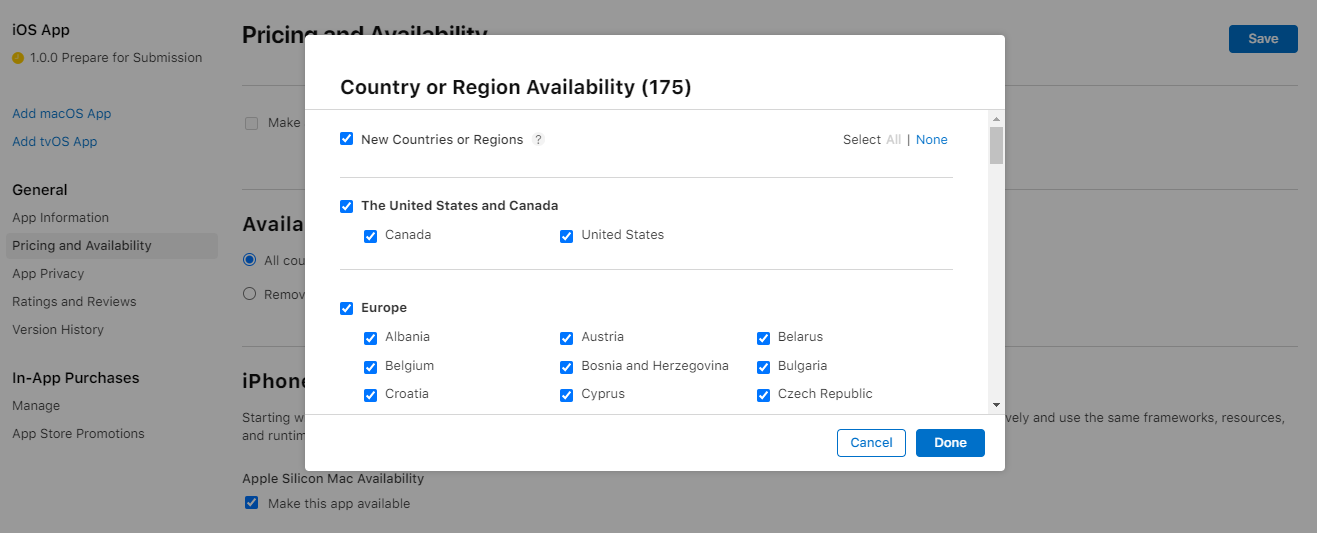
- Pricing and availability: Apple let's you chose your app's price by selecting one of the 90+ price tiers at the time of writing (from free app to tier 87 app, i.e., 1099€). You can also choose the countries availability for your app in this section (by default your app will be available in all the countries of the world).
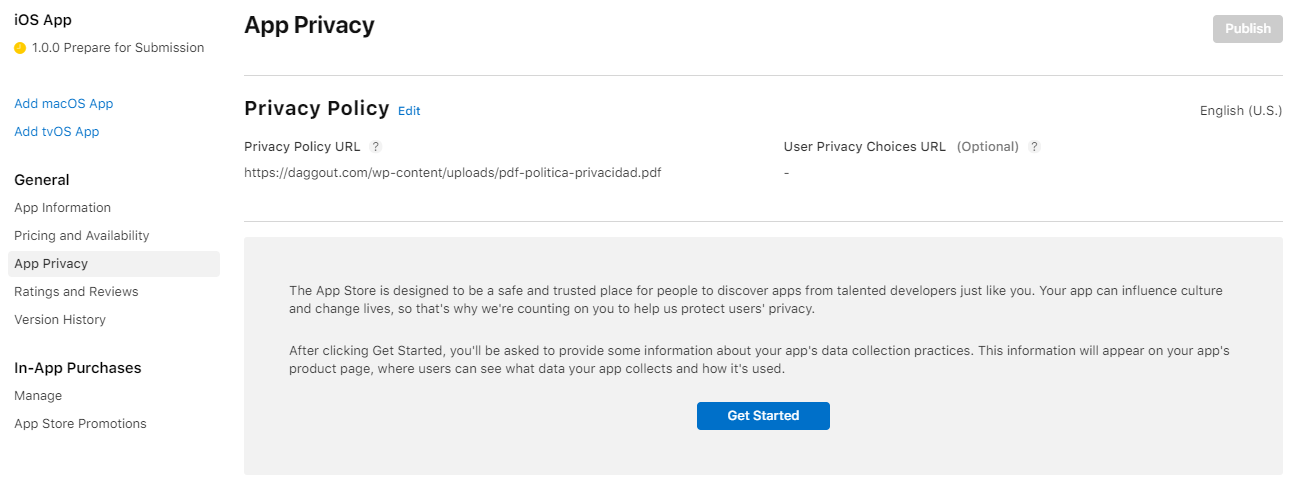
- App Privacy > Privacy policy: It's mandatory to have a privacy policy in order to deploy an app to the app store. It will be visible on your app's page and it can either be a link to a PDF file or a web page. If you have already created a privacy policy page for you website you can link to that page (e.g. https://www.whatsapp.com/legal/privacy-policy-eea).

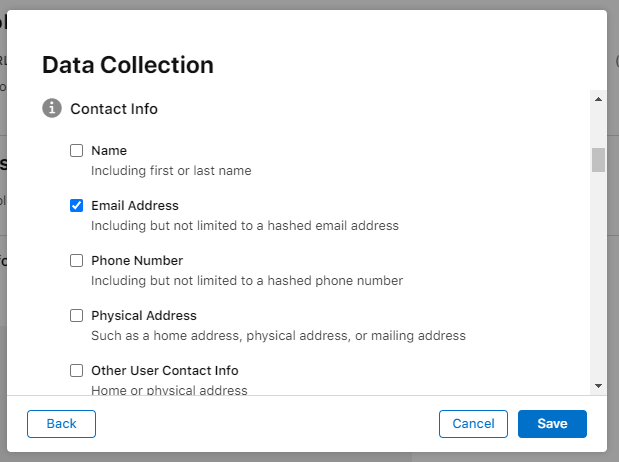
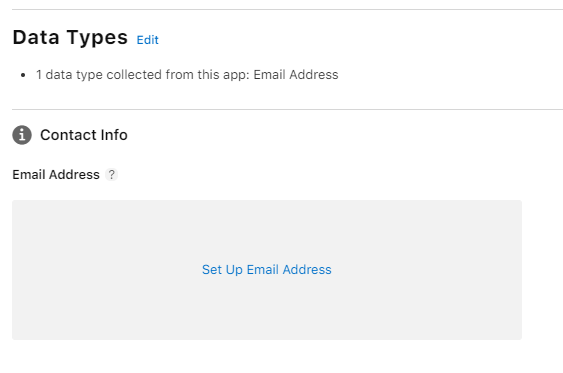
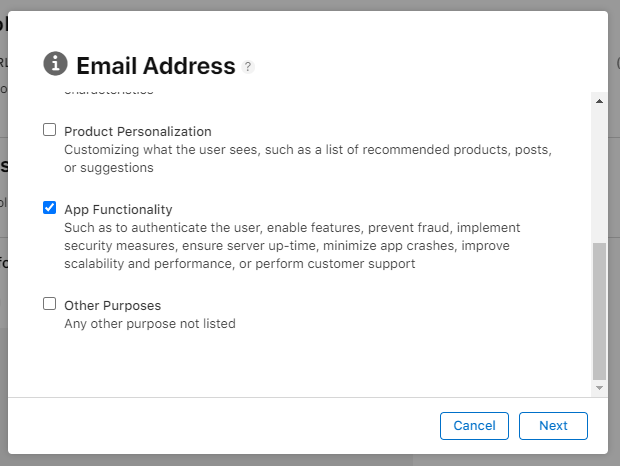
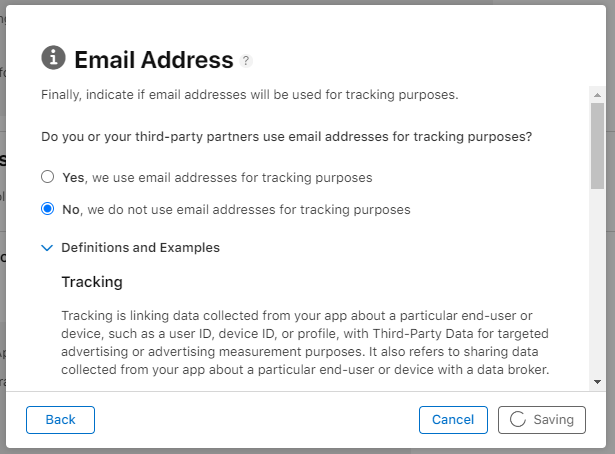
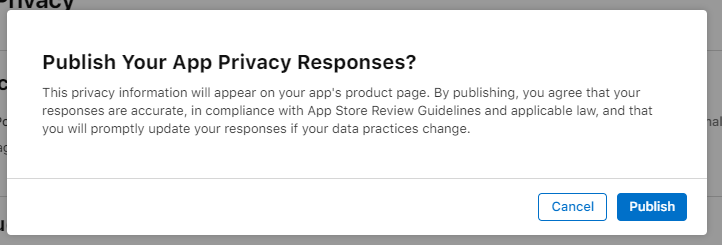
- App Privacy > Privacy practices: Questionnaire to determine whether your app collects and stores users data outside the application. If your app requires users to create an account for example, you are then storing user information outside the app. You will need to specify why you collect the data for each of the data types your app collects. Once you finish answering the privacy practices questionnaire, you will need to publish the answers to be able to submit your app for review.
Submit for Review
Congratulate yourself! You've made it through the App Store maze 🍾 You've filled all the necessary sections and you've finally been allowed to submit your app for review. Over the next days Apple will take a look at your app and either approve it, getting back to you with the good news you are expecting, or reject it, providing a detailed explanation with the rejection reasons.
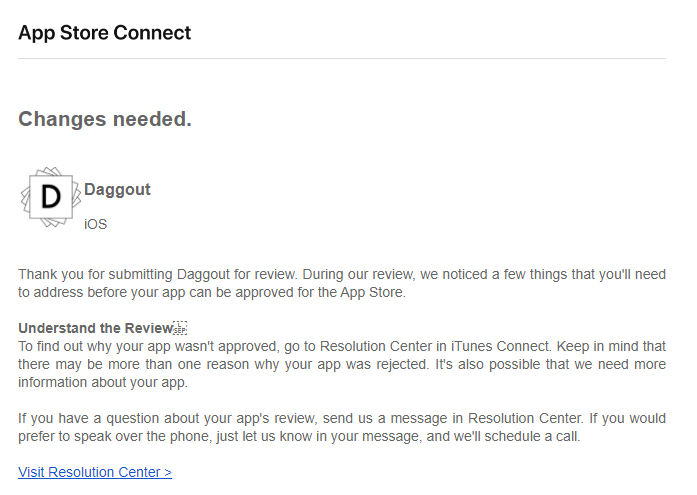
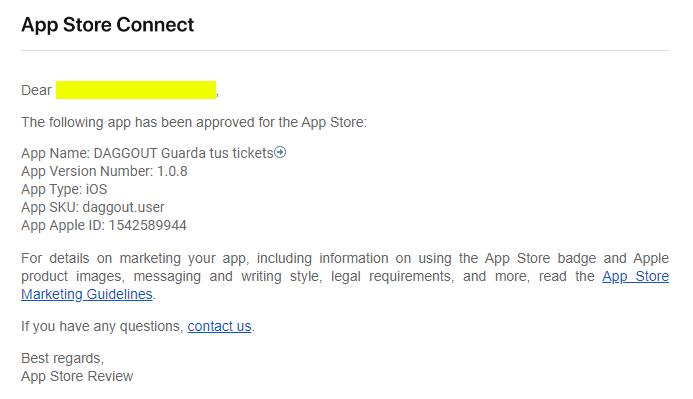
It's ok to get rejected. It only means that there is something you need to change or clarify. Go through the rejection reasons and cheerfully fix all the reported issues. Eventually you will get a different email, your app will get approved and your only concern will be to make your app even better 💃
Edit: February 2022
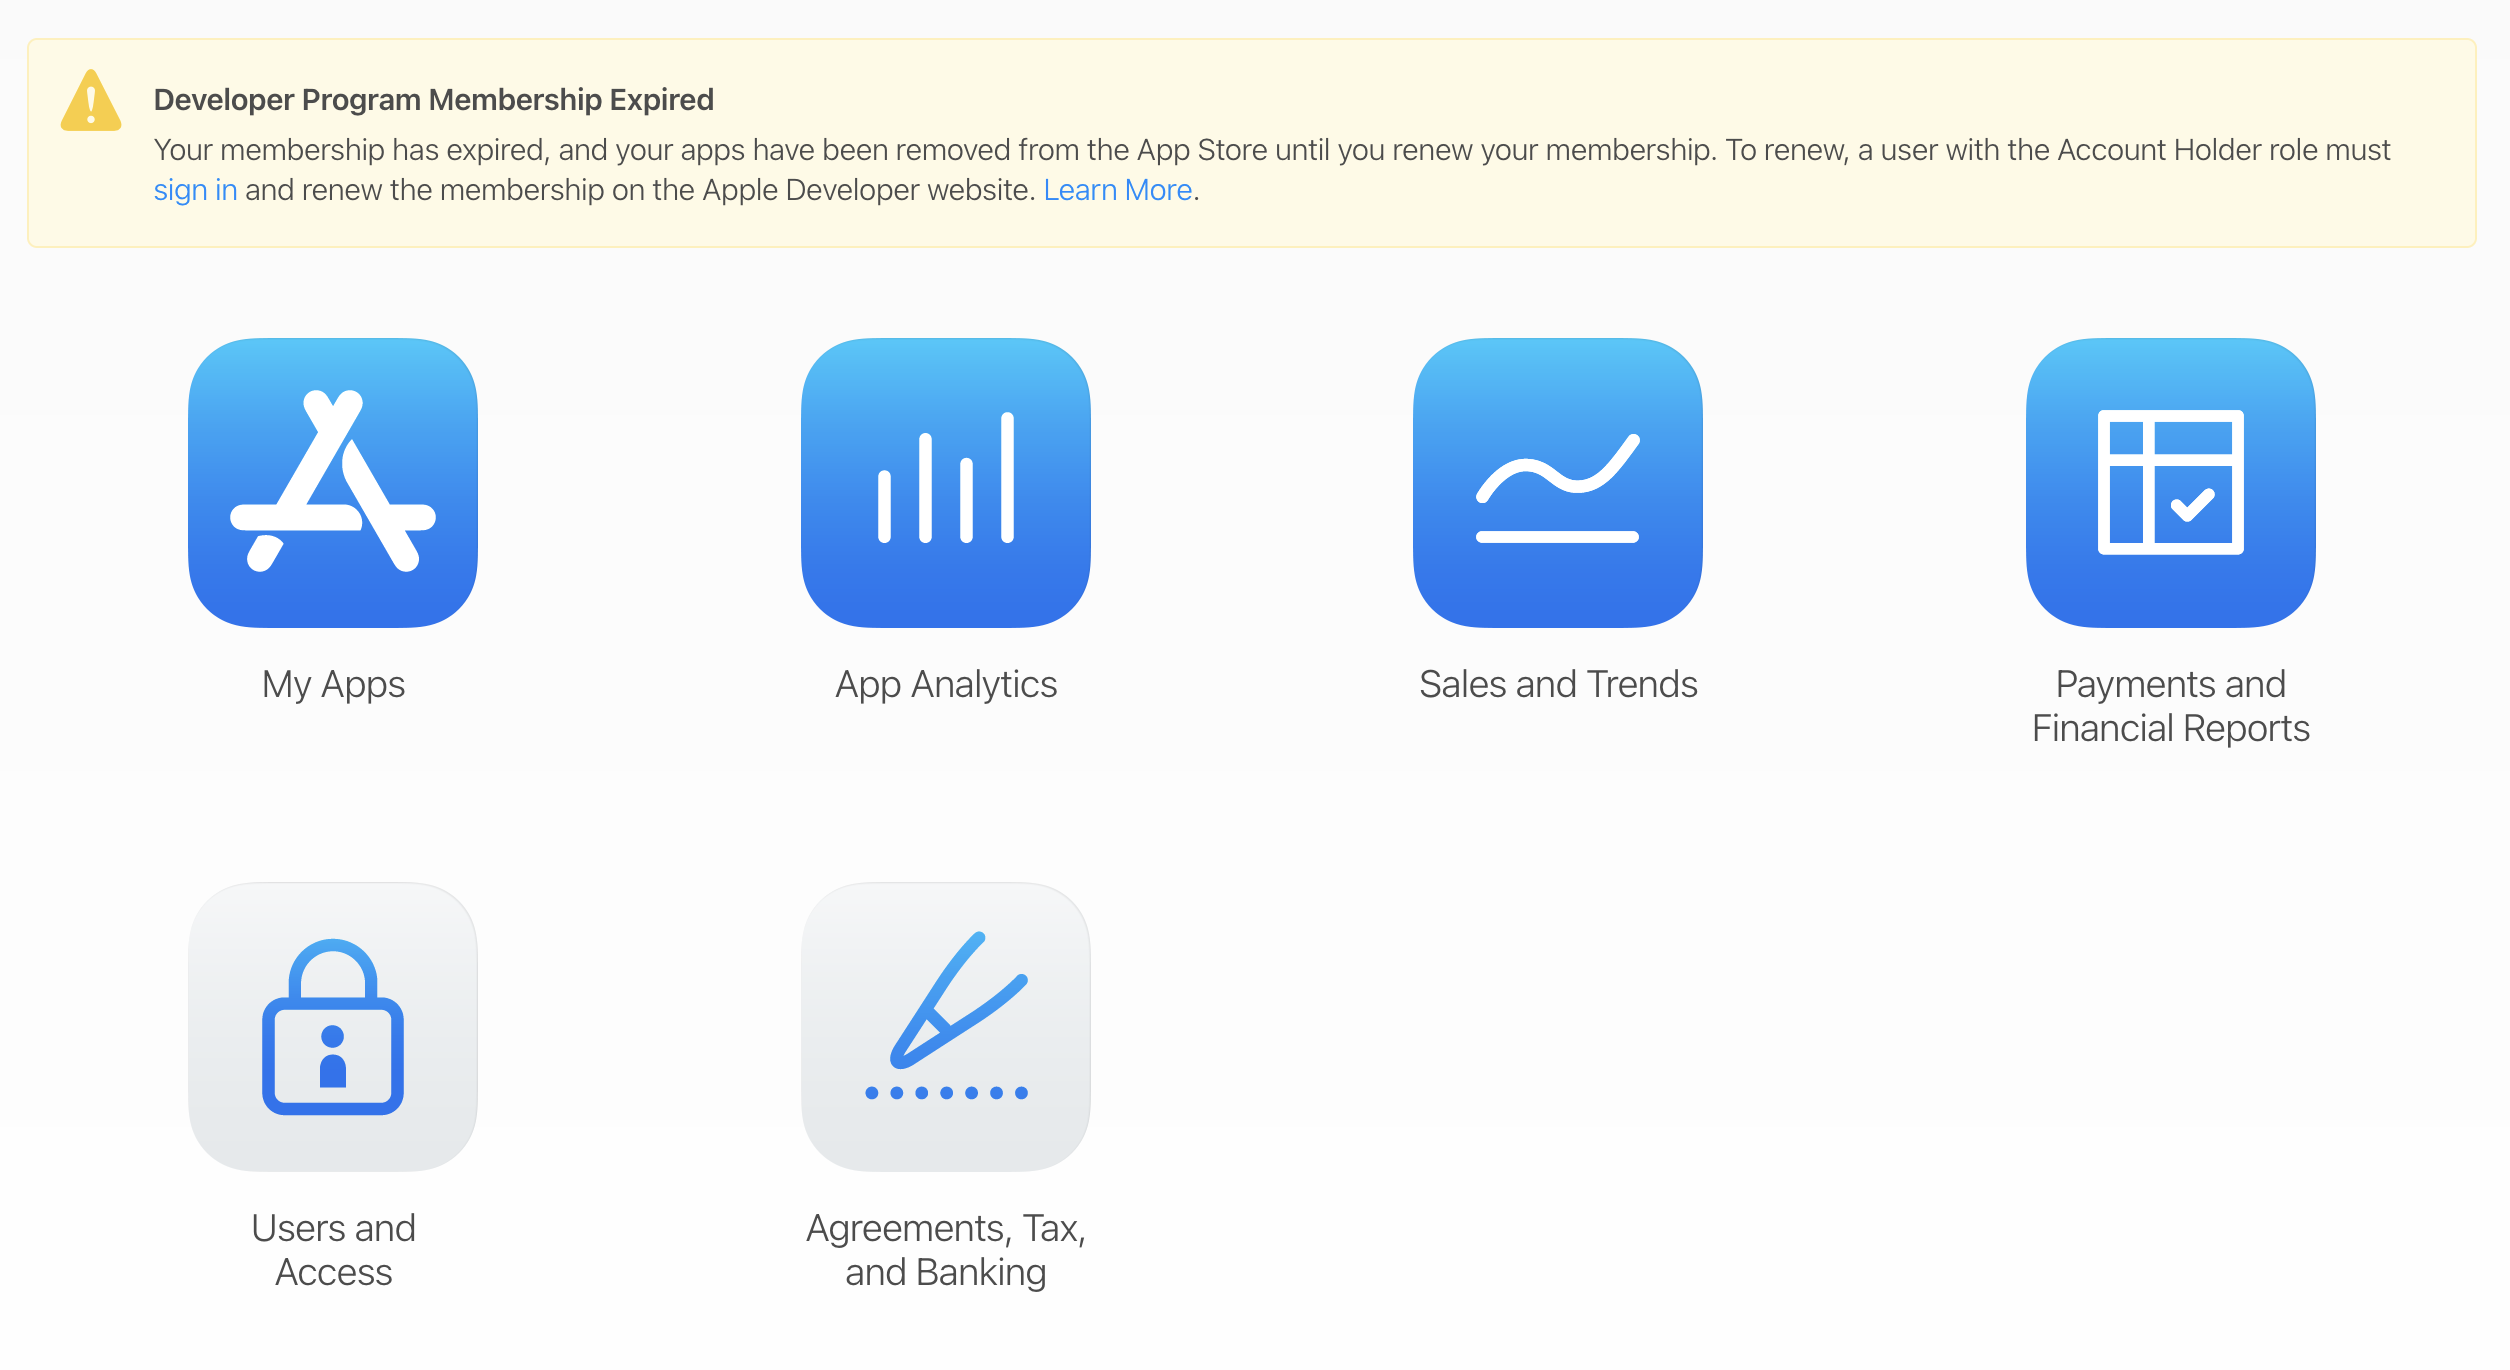
When the iOS developer license expires, you will not only lose the hability to update your apps but they will be entirely removed from the App Store until you renew your membership.